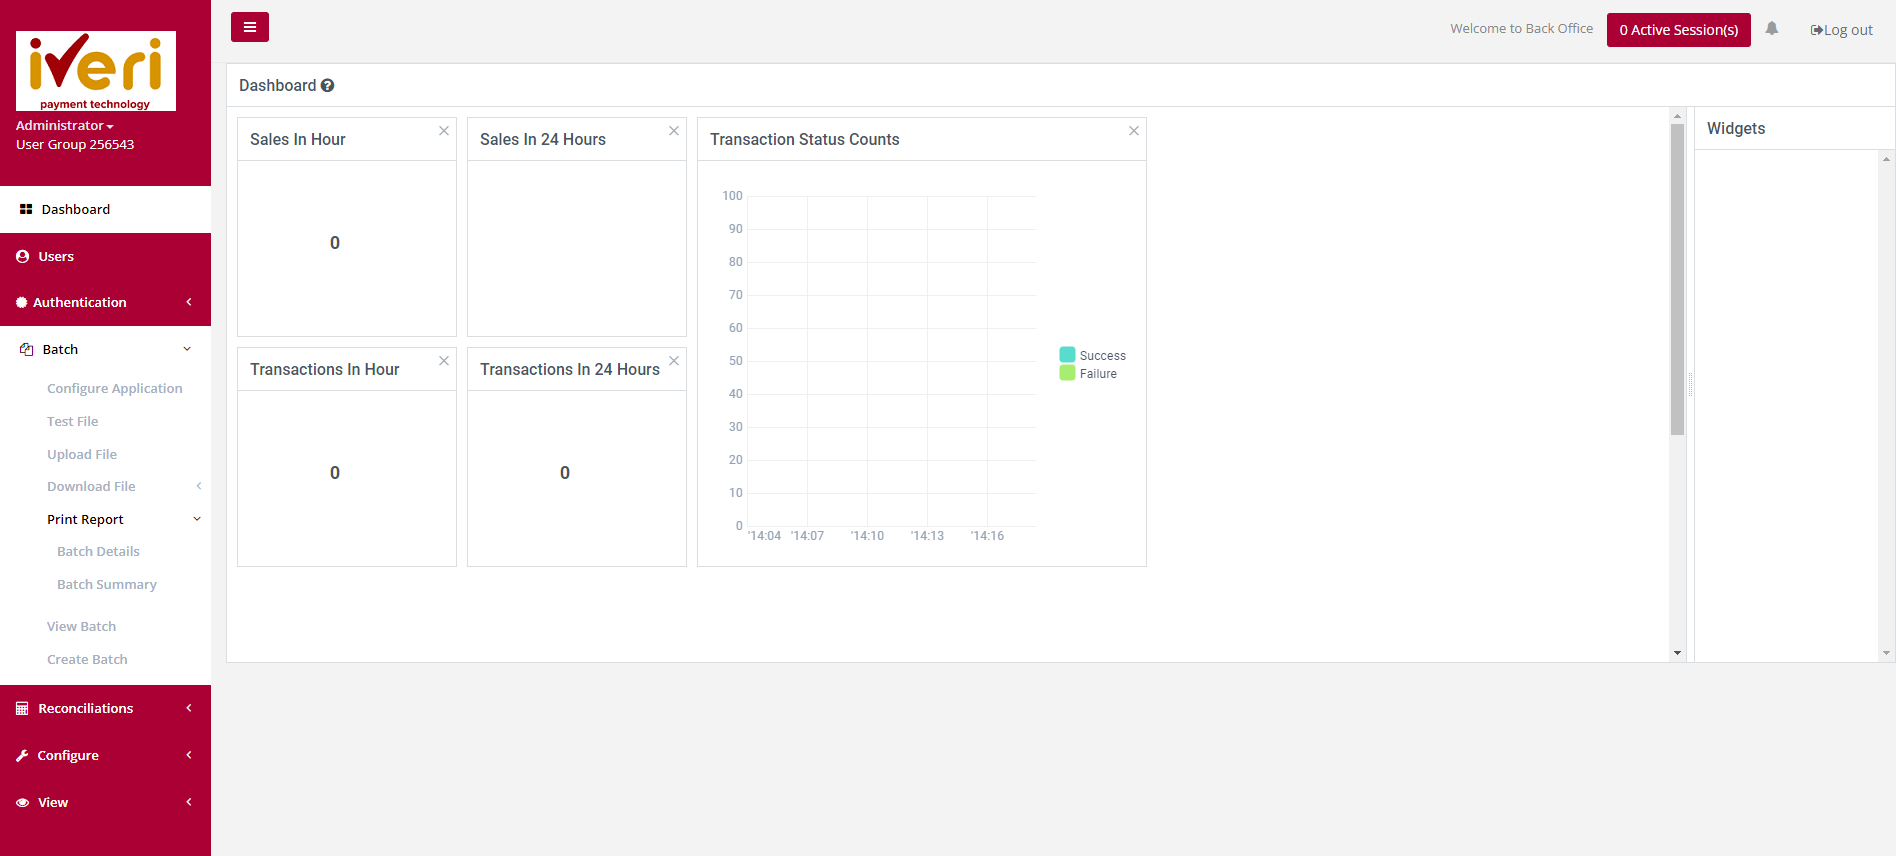
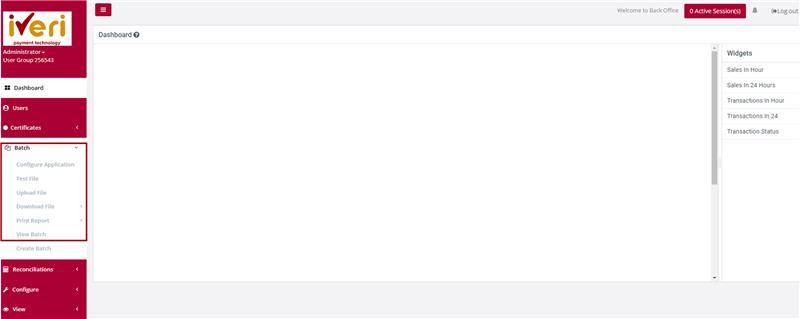
Batch
Batch is a payment solution that allows for bulk payment uploads using the iVeri system. It enables a merchant to create and process large volume, card not present transactions.
Batch is a solution that facilitates collections from your customers' card accounts. It is an effective way to collect regular payments.
Batch is aimed at merchants who accept cards and do not need to process transactions in real-time.
Configure – Application
Purpose – Configuring your application needs to take place before a user can create a batch. To capture the email address of the person to whom the confirmation email will be sent after the upload of a batch confirming either the successful upload or an error in the upload to the selected Application ID.
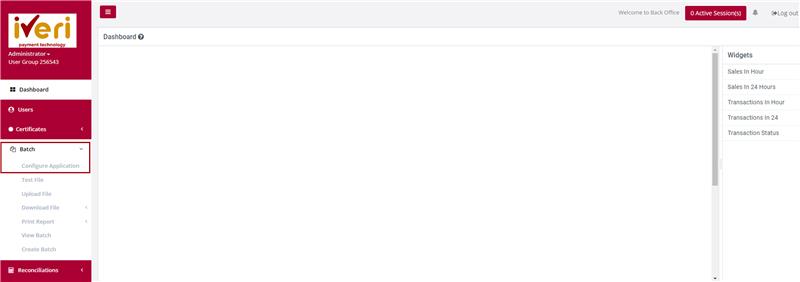
Action:
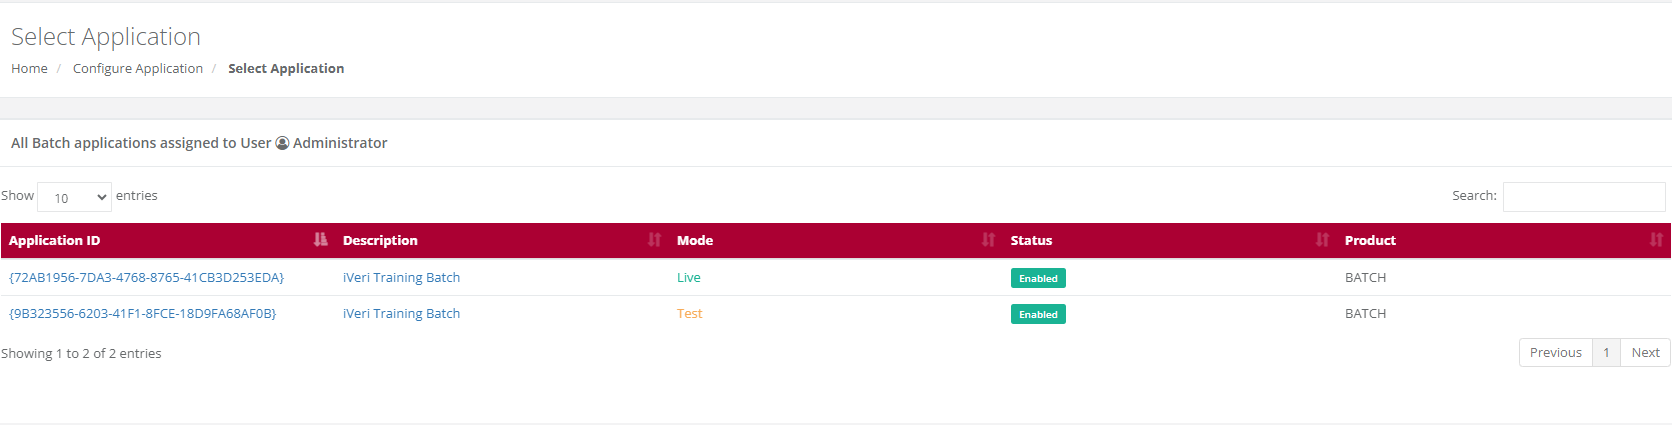
The user will select the applicable Application ID.
Action:
On the application settings form, the user will capture the email address where all notifications will be sent.
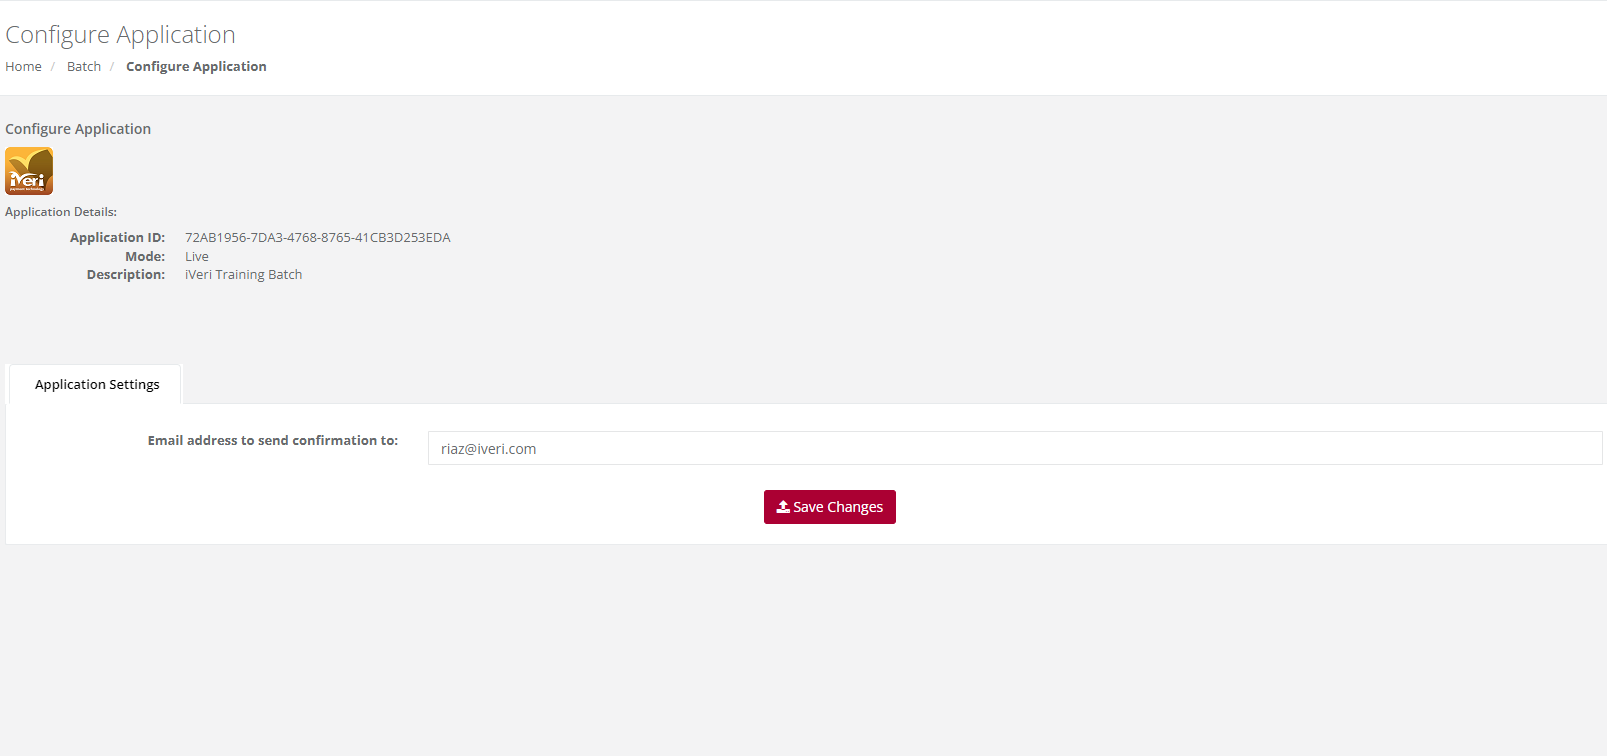
The success message, “Application Fields Modified” will be displayed indicating that the application has been configured successfully.

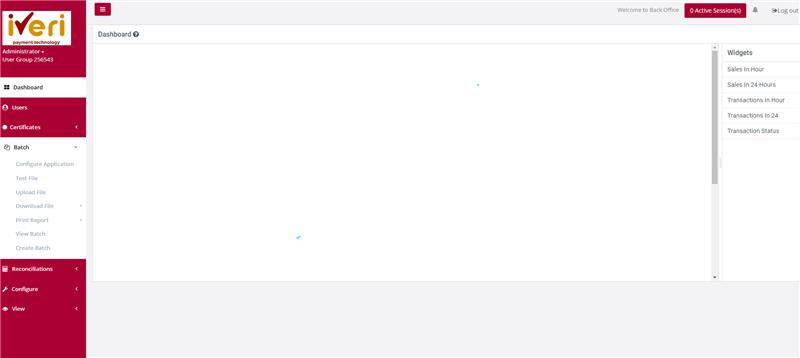
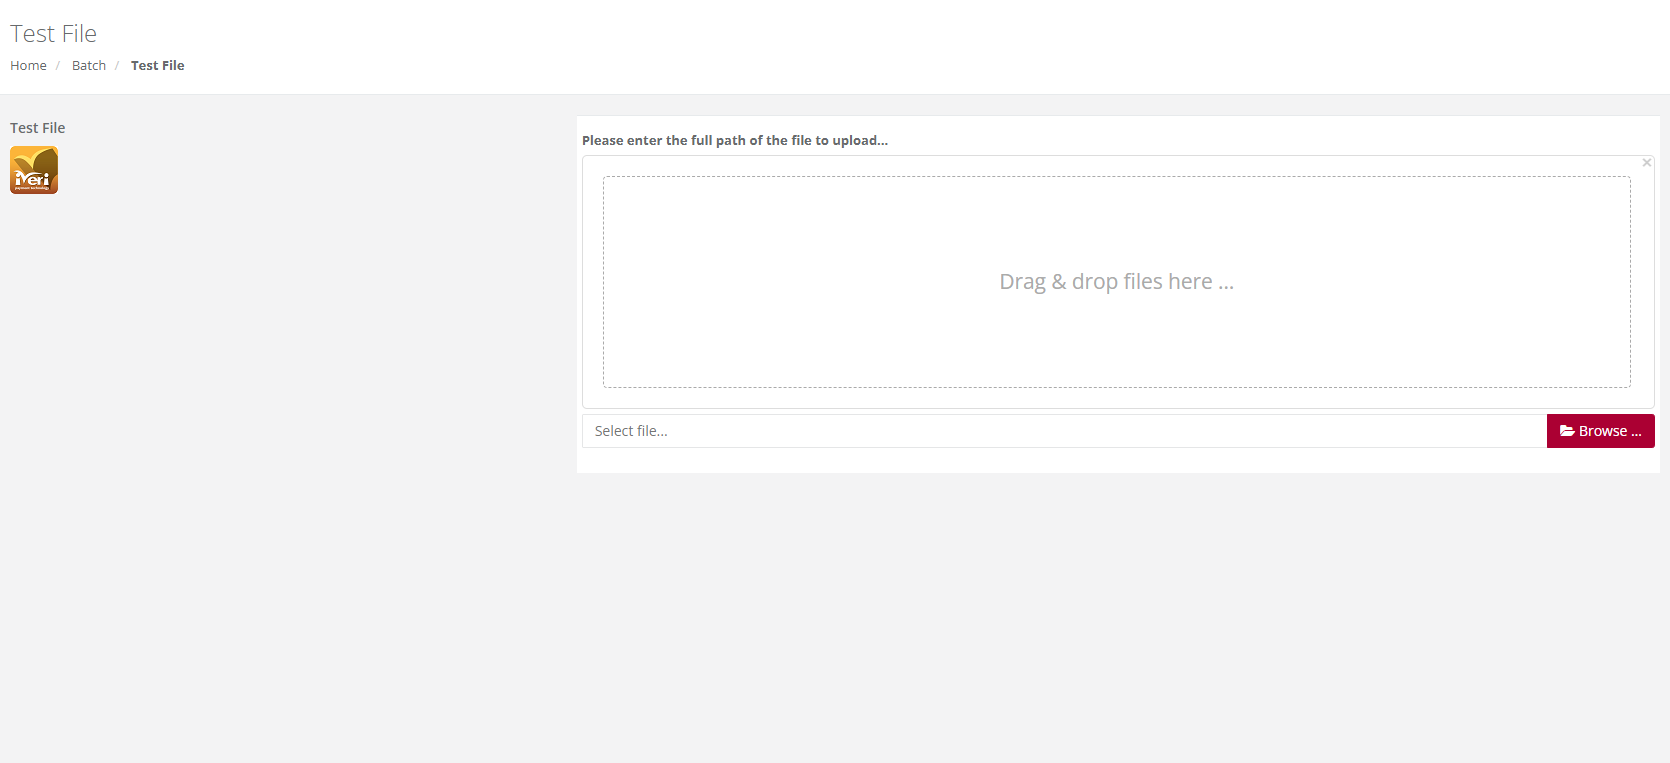
Test File
Purpose – A test batch file can be created to validate that the file format uploaded is in accordance with the iVeri Batch Specification. The test results will provide details should there be any errors within the Test file.
Action:
From the main menu the user will navigate to: Batch - Test File.
Action:
The user will click on "Browse" to locate the created batch. When located on your PC (file directory), select the file, and click on Open. Alternatively the user can drag and drop the file in the space provided. Lastly the user will click on "Submit" to upload the test file.
The result of the format test of the selected batch will be displayed.
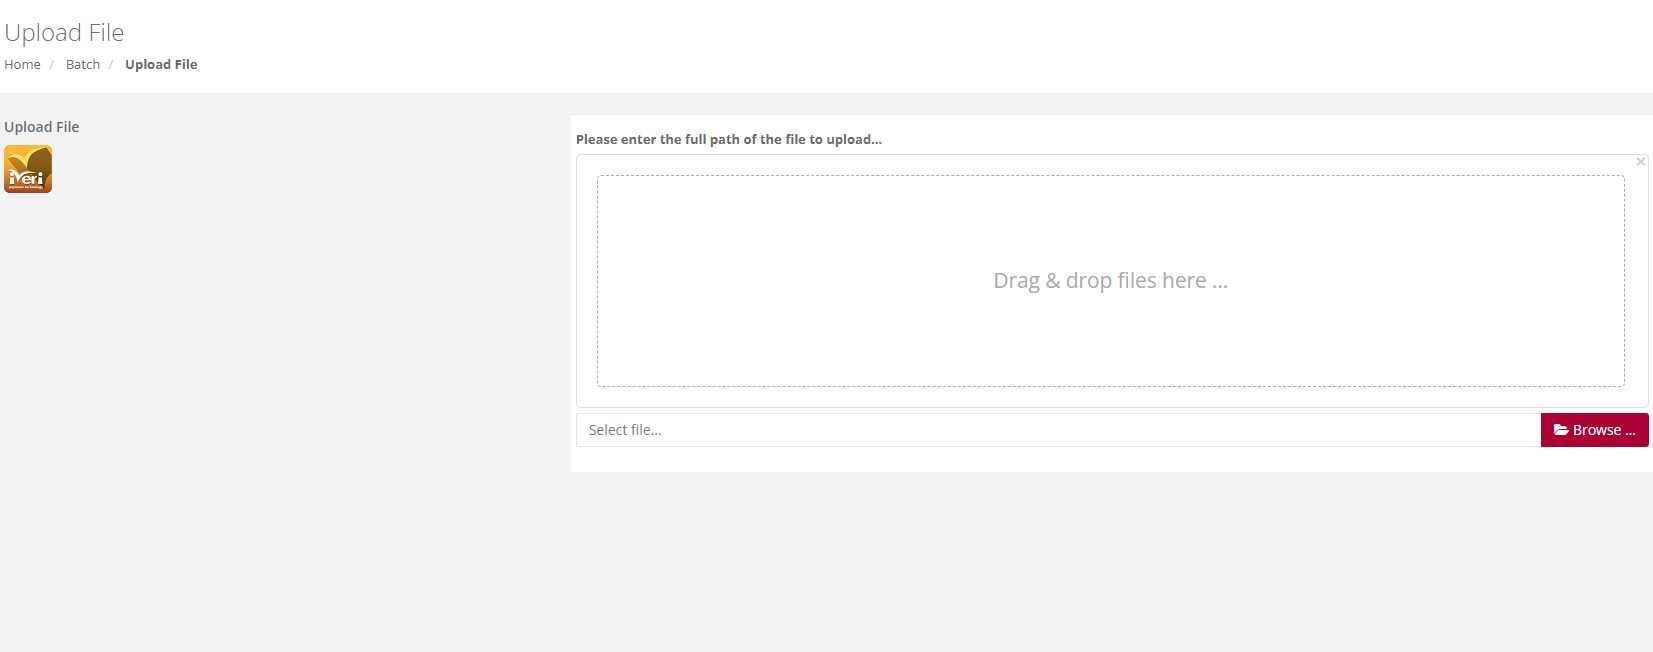
Upload File
Purpose – To upload a batch file on to the iVeri Gateway for processing.
Action:
Click on Browse to locate the batch you wish to upload. When located on your PC, highlight the file, and click on Open. Then click on Submit.
The message “Thank you, your file has been uploaded to our server.
Once the file has been loaded into our database an e-mail will be sent to…” will be displayed.
If the upload was not successful, the reason for the failure will be displayed.
A little while later, an email will be sent to the address captured in Batch – configure Applications, confirming either success or failure of the upload
Download File
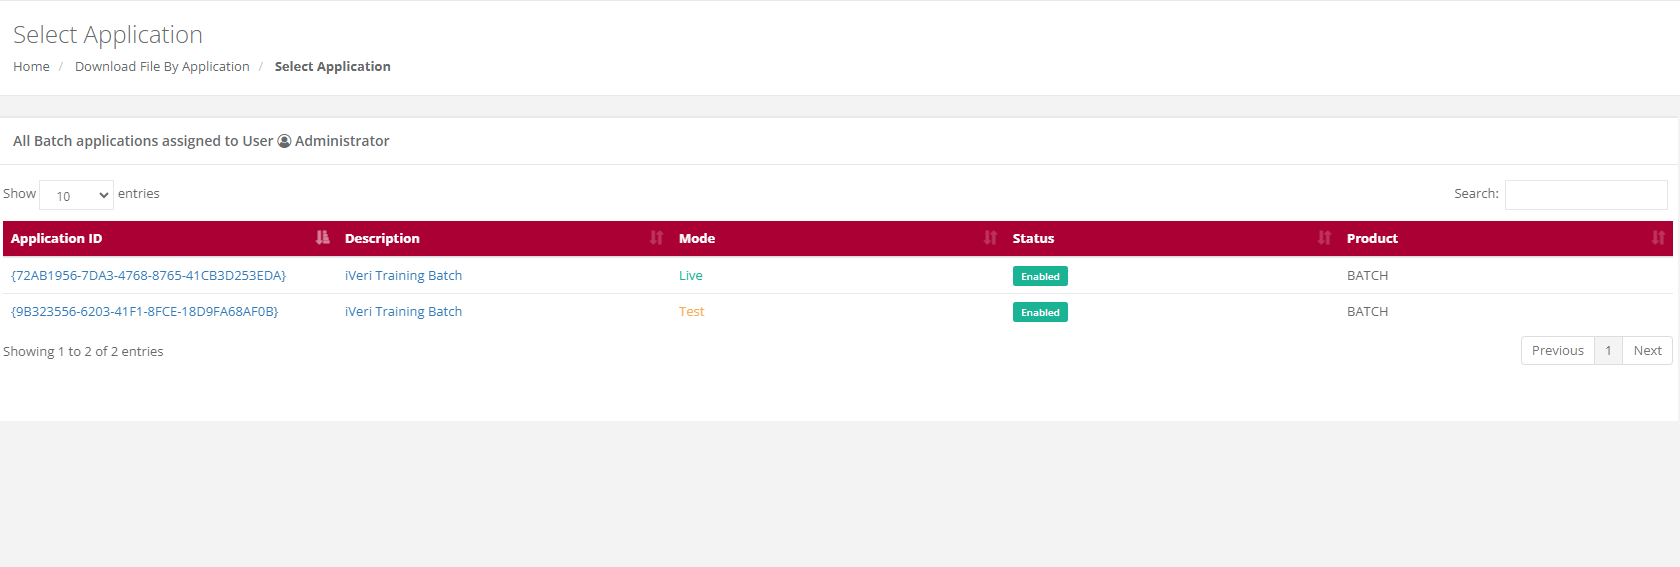
By Application
Purpose: To download a processed file for a selected Application ID e.g., Live or Test or if you have more than one Live Application ID you can select the particular Application ID you wish to download. These could also be for the purposes of reusing the file for another entry.
Action:
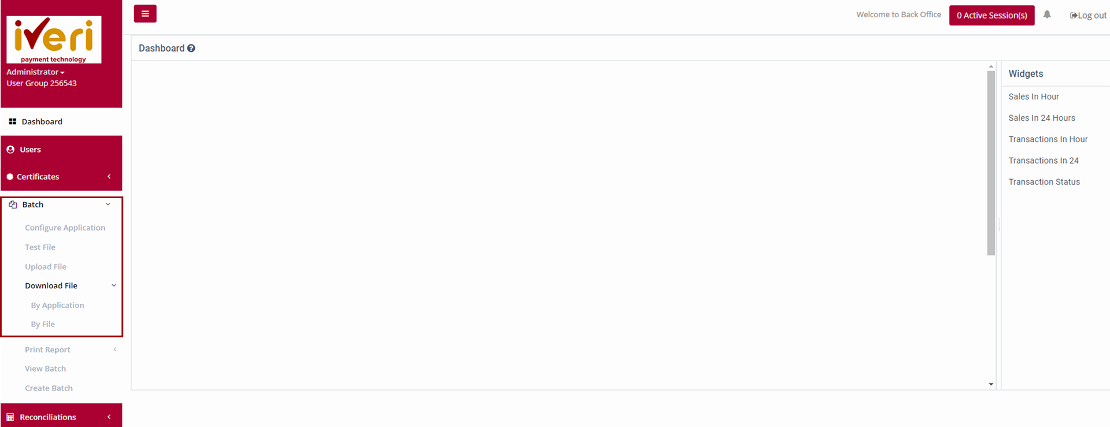
From the main menu the user will navigate to: Batch - Download File - By Application.

Action:
The user will select the applicable Application ID for which you want to download the file i.e., Either Live or Test.
Action:
Choose the date that the file was created/uploaded in the range above by manually changing the default dates above or clicking on the calendar icon next to each date and select each date in the calendar that is displayed. Then click on Search. The result of your search will then be displayed in the form below.
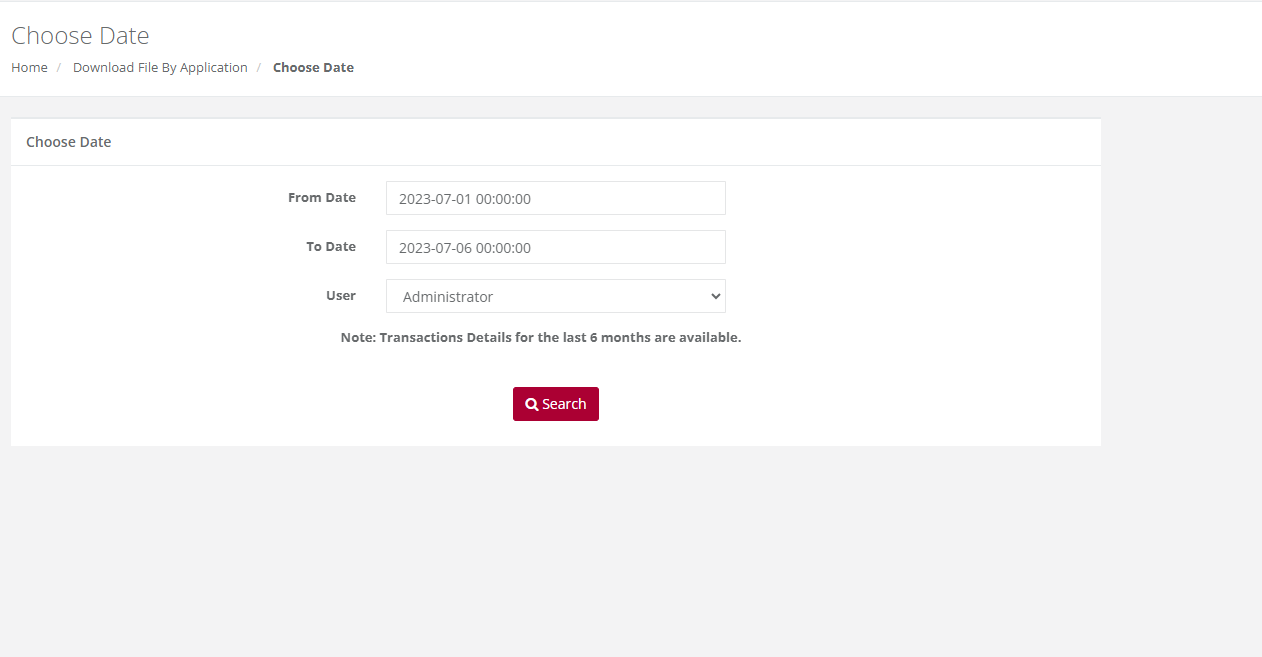
Action:
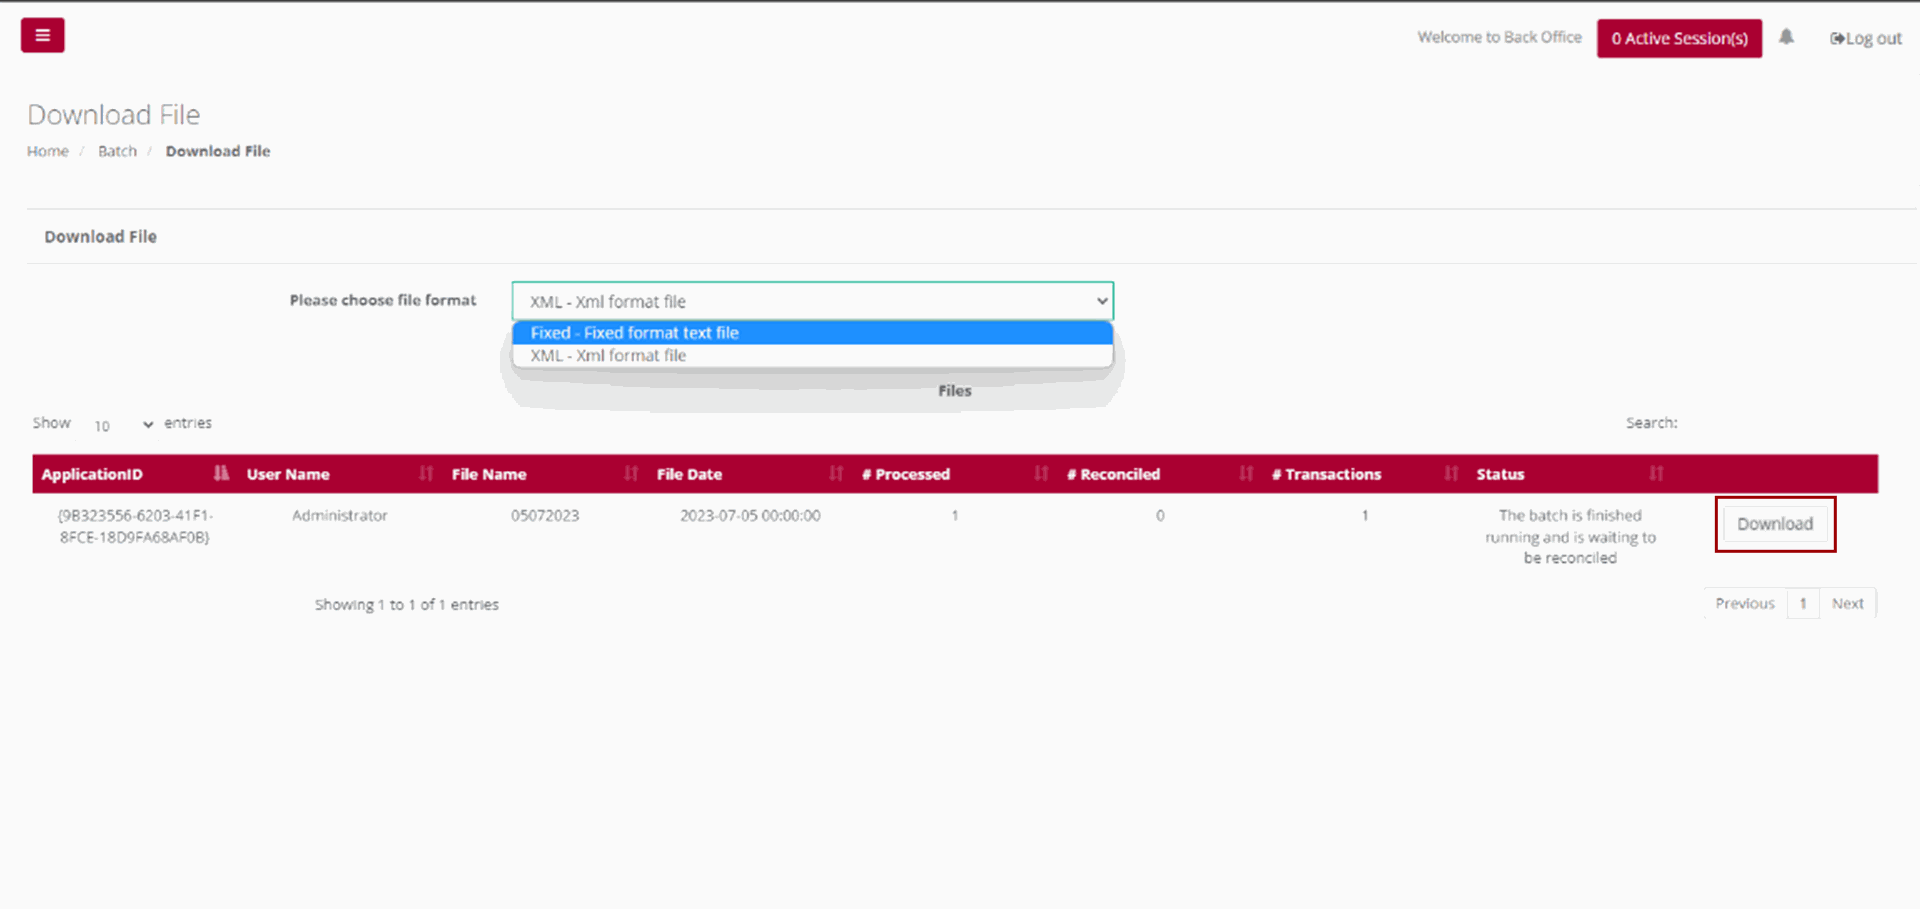
Select the file format you wish to obtain from the drop down (either the default Fixed File Text format or XML) and then select the file from the list which you want to download and click on "Download". This will bring up the following screen.
You can now choose to either Save the report or to open it in a new window immediately by clicking on the relevant button above.
Please Note:
If your file contains more than 10000 records, then the time in the message above will show 20 minutes. It is recommended that you click on the words Click Here and you will receive an email when your file is ready for retrieval.
By File
Purpose – To download a selected file by a specific file name.
Action:
From the main menu, the user will navigate to: Batch - Download File - By File.
Action:
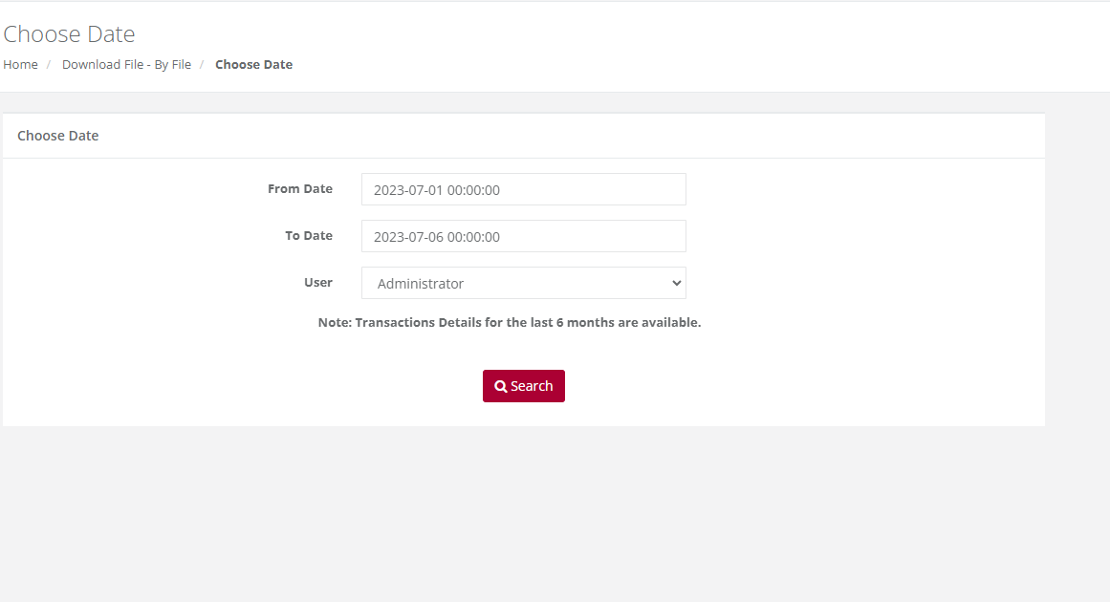
Select the date range that the file was created/uploaded by manually changing the default dates above or clicking on the calendar icon next to each date and select each date in the calendar that is displayed.
Then click on Search. The result of your search will then be displayed.
Action:
Select the filename of the file you want to download. The following page will be displayed. Your selected file is displayed for you to download. Click on "Download". Select the file format you wish to obtain from the drop down (either the default Fixed File Text format or XML) and then click on Download.
You can now choose to either Save the report or to open it in a new window immediately by clicking on the relevant button.

Print Report
Batch Details
Purpose - To view a list of all transactions performed for a selected Date or Period.
Action: In the menu bar, Select Batch - Print Report - Batch Details.
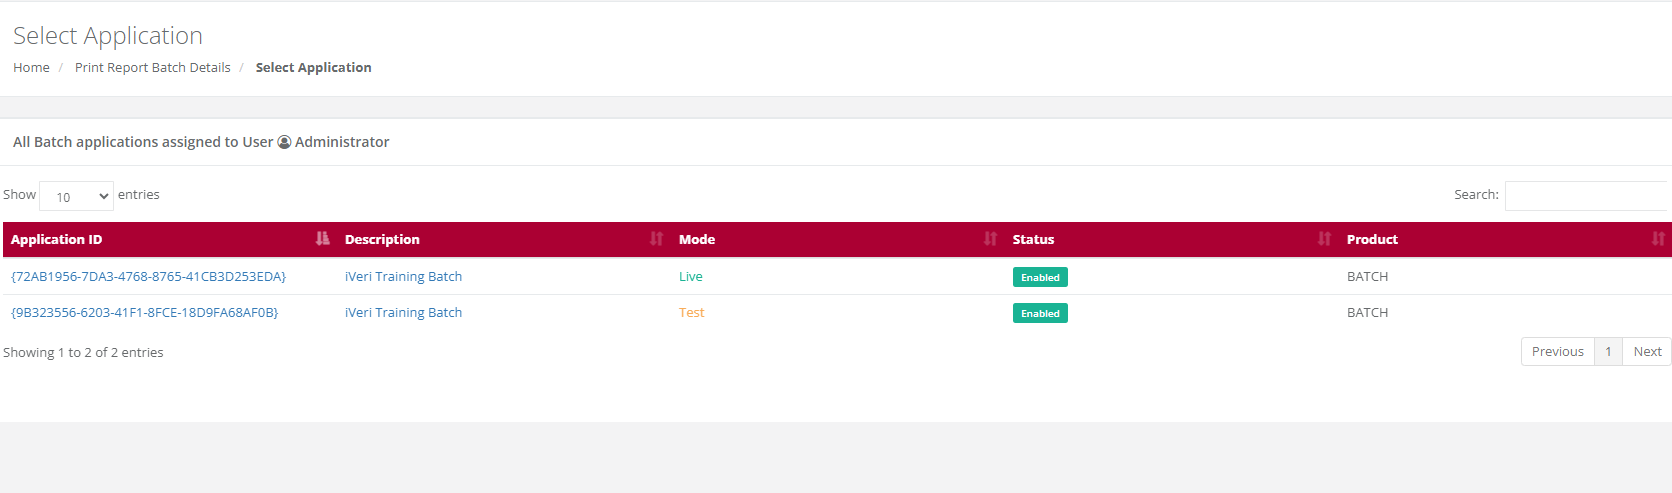
Action:
The user will select the applicable application ID.
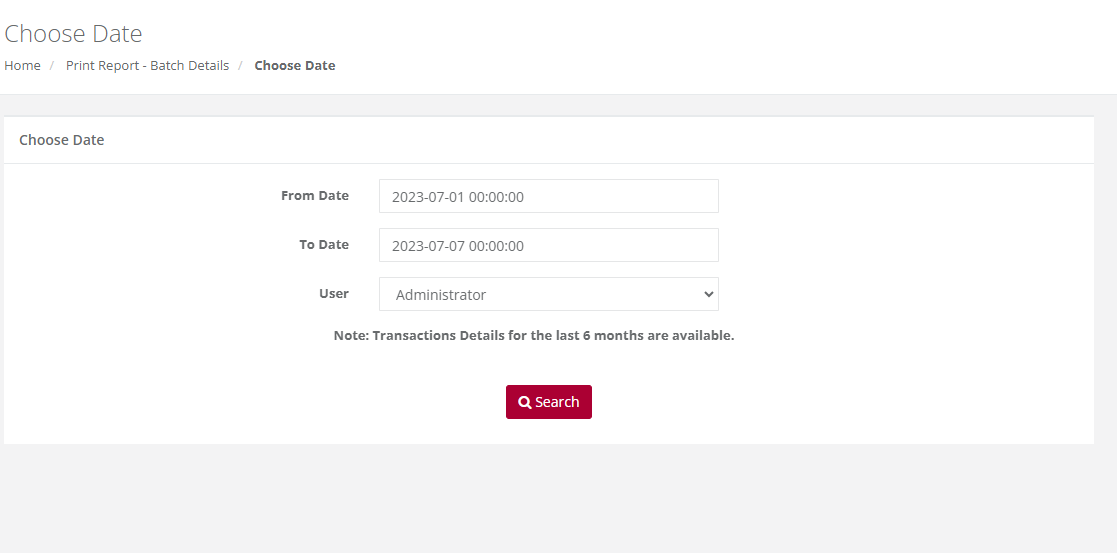
Action:
The user will select the Date range and click on Search. This will bring up the list of ALL transactions performed for your selection.
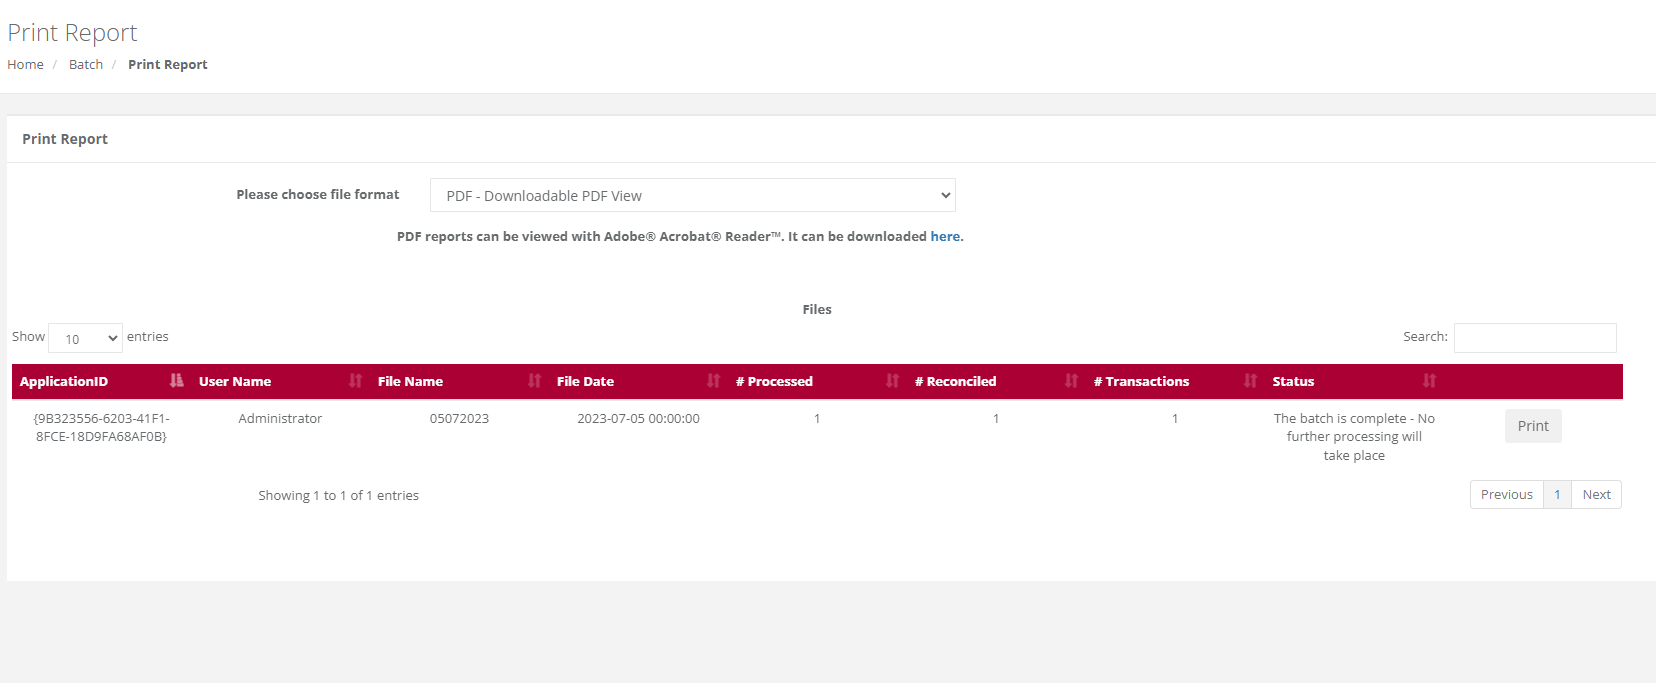
Action:
Select the file format you wish to obtain from the drop down (either the default PDF, CSV or XLS) and then select the file from the list which you want to download and click on Print. This will bring up the following screen.
The Print Button will start an automatic download to your PC.
Batch Summary
Purpose - To View/Print the report of a processed batch in either PDF – Downloadable PDF View or XLS – Excel Spreadsheet formats. This function will produce a report summarizing the transactions by Result Description in the selected batch.
Action:
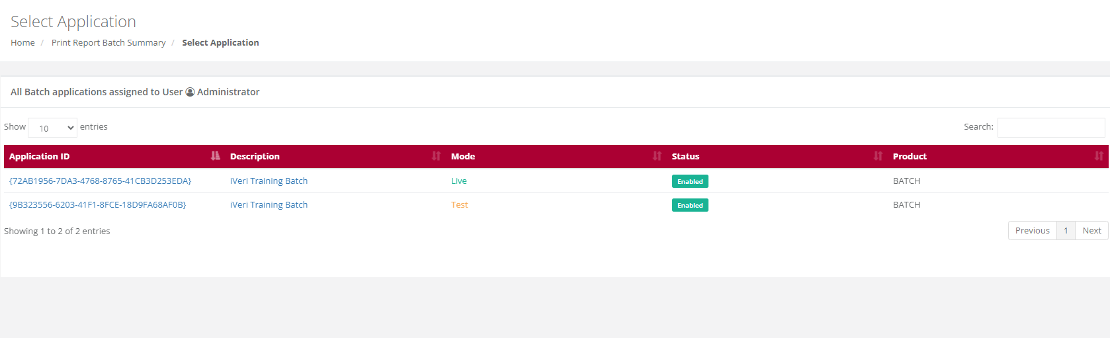
From the main menu, the user will navigate to Batch - Print Report - Batch Summary.
Action:
The user will select the applicable Application ID.
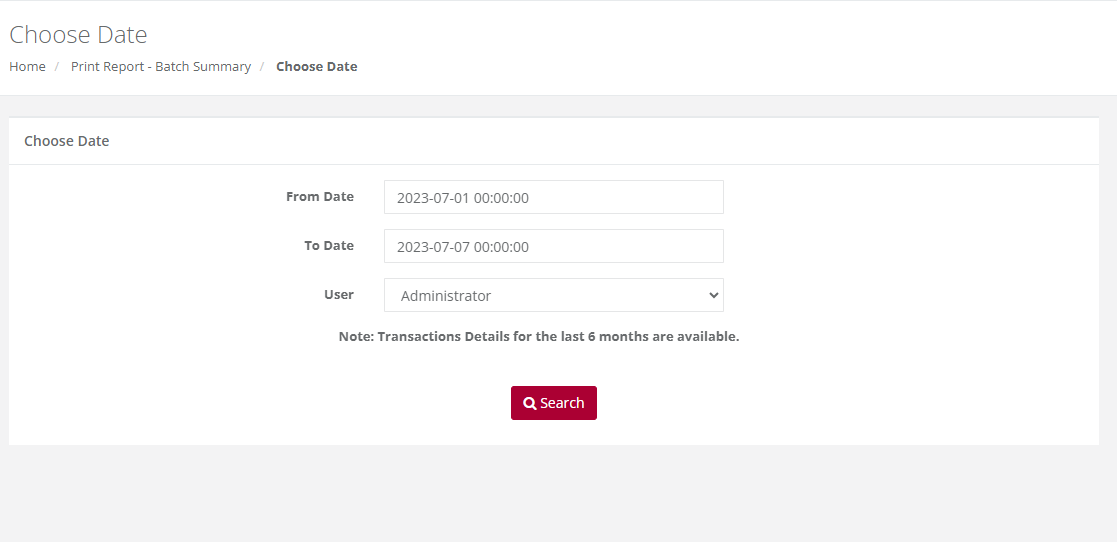
Action:
Determine the date range for the search criteria you wish to retrieve.
Action:
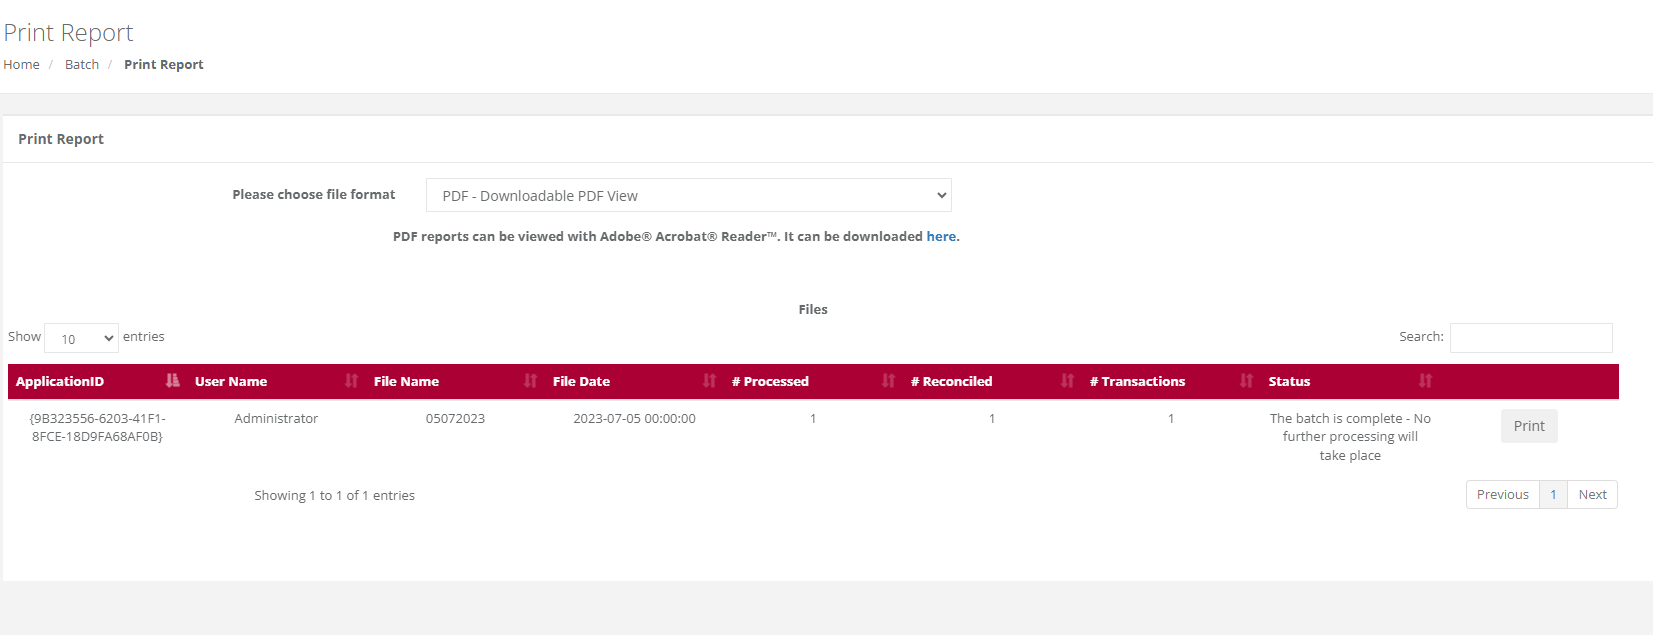
Select the file format you wish to obtain from the drop down (either the default PDF, CSV or XLS) and then select the file from the list which you want to download and click on Print. This will bring up the following screen.
The Print Button will start an automatic download to your PC.
Please Note:
If your file contains more than 10000 records, then the time in the message above will show 20 minutes. It is recommended that you click on the words 'Click Here' that appear on the screen, so that you may receive an email when your file is ready for retrieval.
View Batch
Purpose - To view the status of batches that have been uploaded for processing and view any errors / failed transactions in a completed batch.
Action:
From the main menu, the user will navigate to: Batch - View Batch.
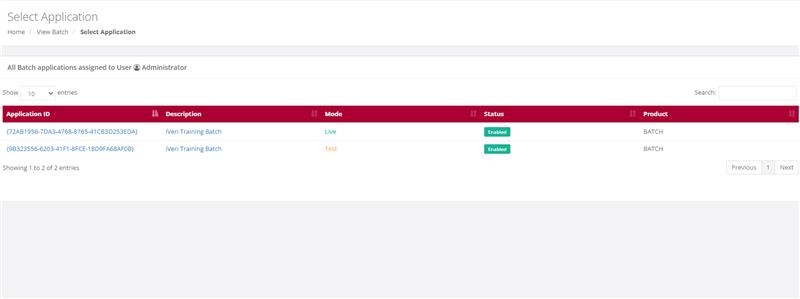
Action:
The user will select the applicable Application ID.
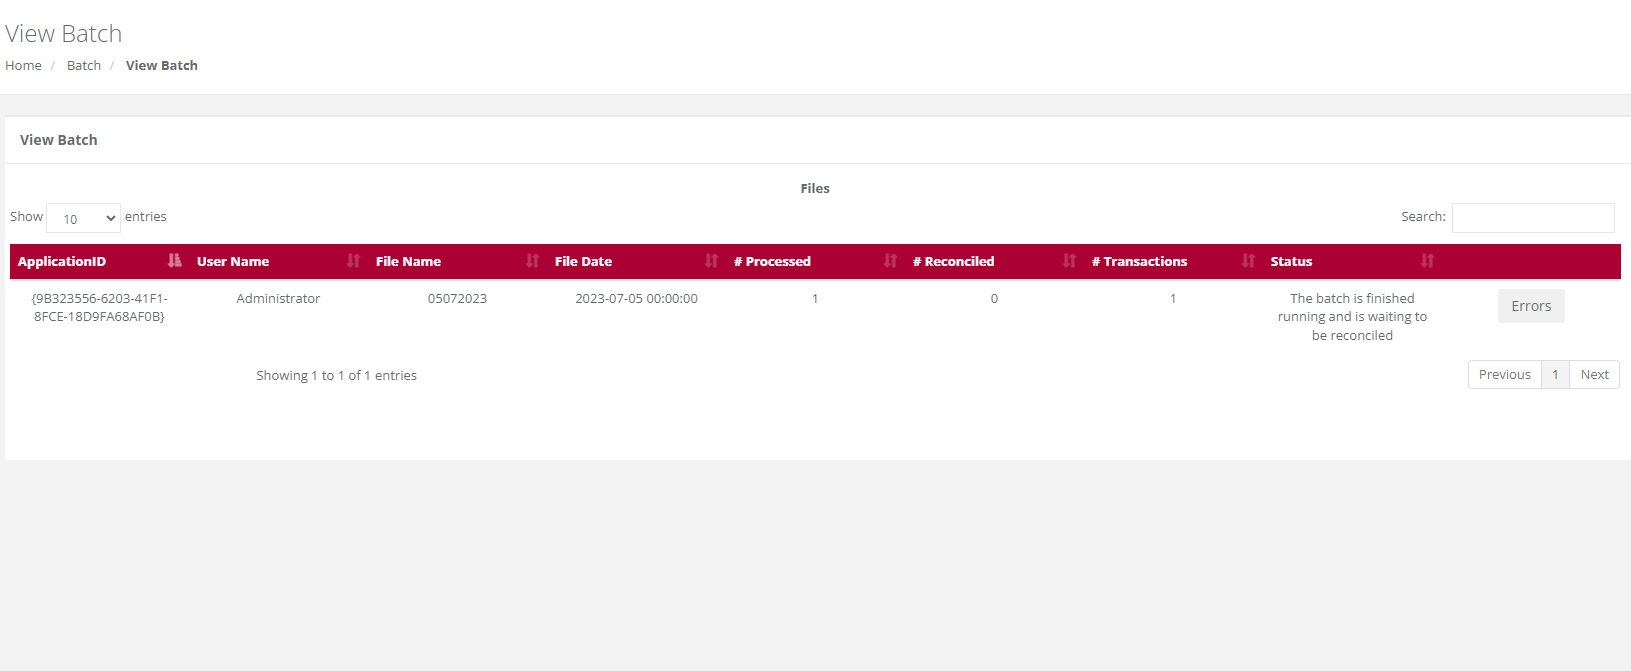
Action:
The user will select the date range for the Batch they would like to view.

Action:
The user will now be able to view the Batch for the selected date range. To view any errors within the Batch or applicable to a specific transaction, the user can click on the "Errors".
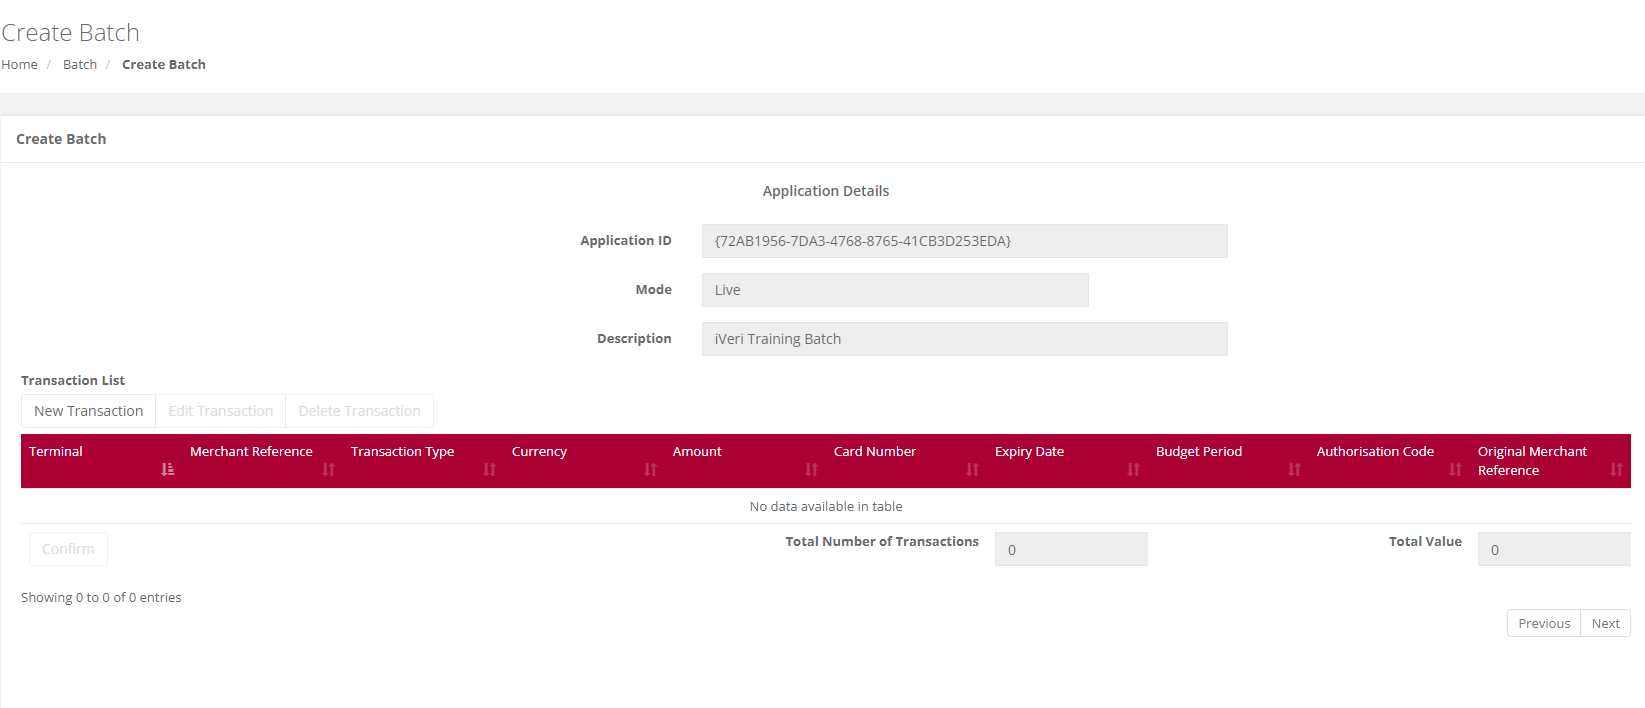
Create Batch
Purpose - To create and upload a batch file for processing in BackOffice, the system will automatically generate both the header and trailer records in compliance with iVeri standards.
Action:
From the main menu, the user will navigate to: Batch - Create Batch.

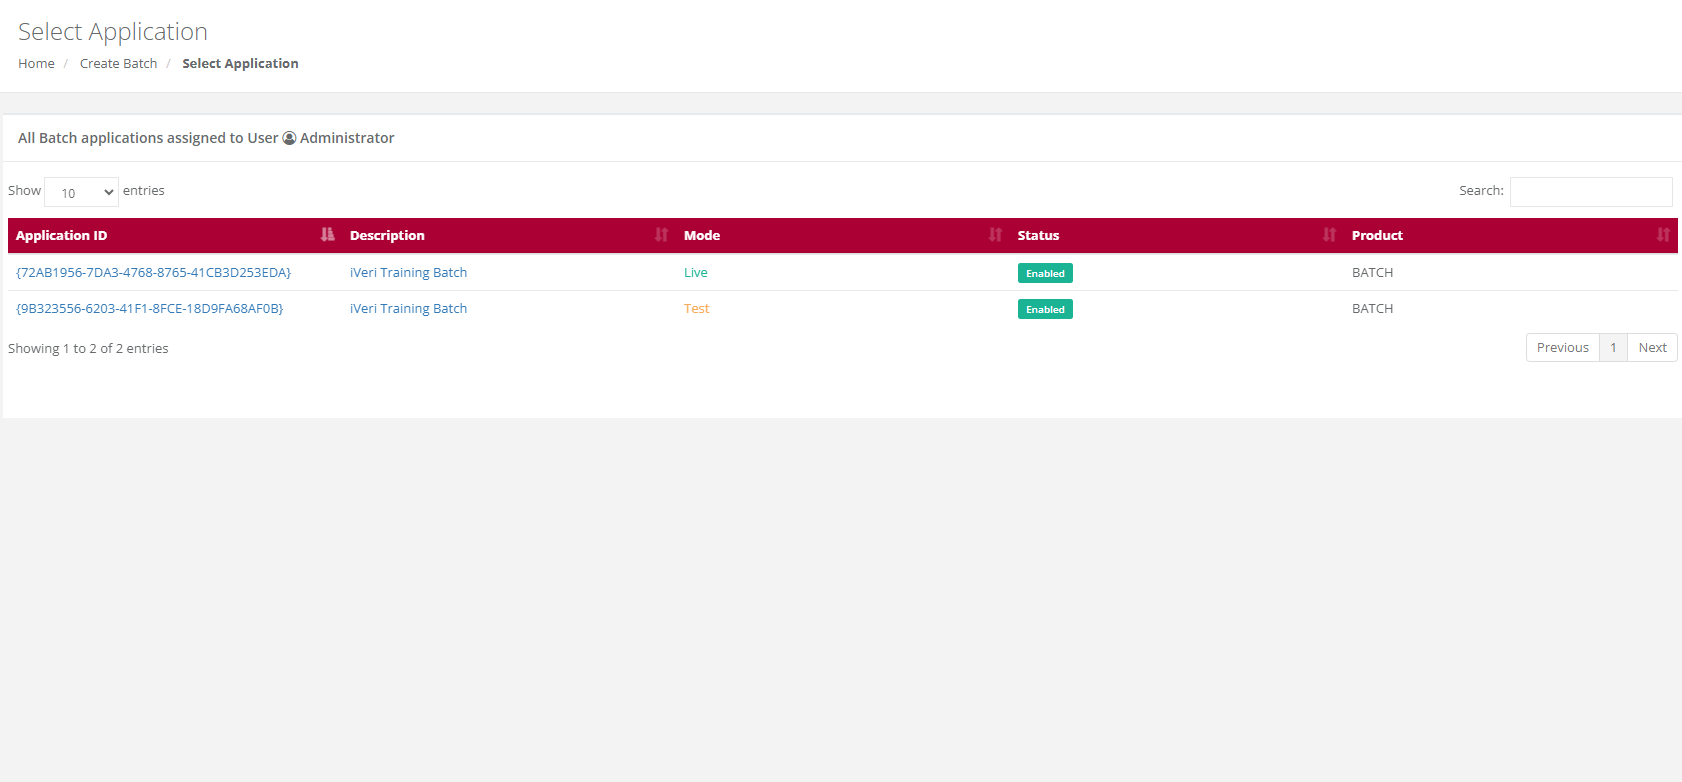
Action:
The user will select the applicable Application ID.
Action:
Select 'New transaction' in order to start capturing your own batch entries.
Action:
After capturing each transaction, select "Save." Repeat this process until all the transactions you want to process have been captured.
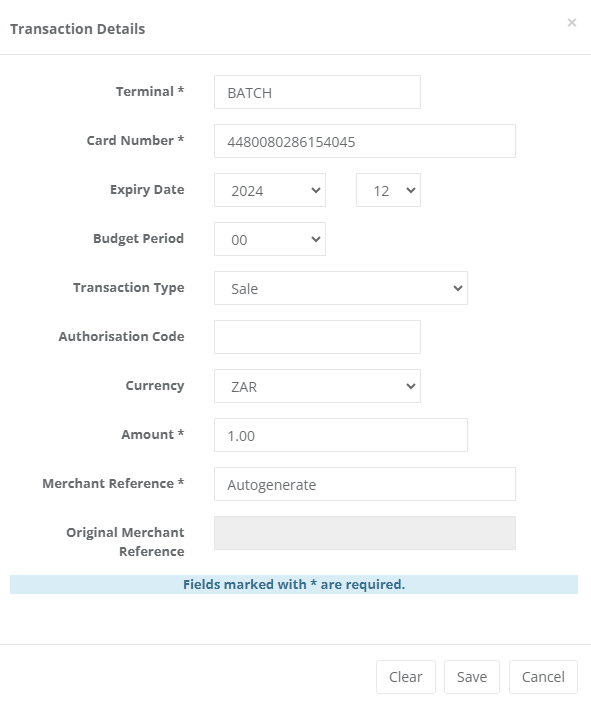
NOTE:
- Merchant Terminal – The default is BATCH. If you want to sort your transactions in the Transaction Details Report, you can allocate your own terminal number for each transaction by deleting the word BATCH and replacing it with your own identifier. The maximum length of this field is 8 characters.
- Budget Period – Only complete this field if the cardholder has requested the payment to go on Budget. If not, leave it blank.
- Transaction Type – The default is Sale. If you are doing a different type of transaction, click on the drop down and select your transaction type.
- Authorization Code – If you have obtained a pre-authorization code from the Authorization Centre, enter the code. If you were given a code longer than six digits, only enter the last six numbers.
- Transaction Amount – Please note that when capturing the transaction amount, it should be entered in Rands. The system will then convert it to cents in the transaction list.
- Merchant Reference – This is a Unique identifier for the transaction. The default here is AUTOGENERATE, iVeri will allocate an invoice number to the transaction. The maximum number of characters you can use here is 32. It is an alpha/numeric field. PLEASE DO NOT USE ANY COMMAs in this field. Also remember that if you use your own Reference Number here, you cannot use it again for 6 months. If you do, then the next time you use it within the 6 month period, the transaction will be rejected as “Duplicate Merchant Reference”.
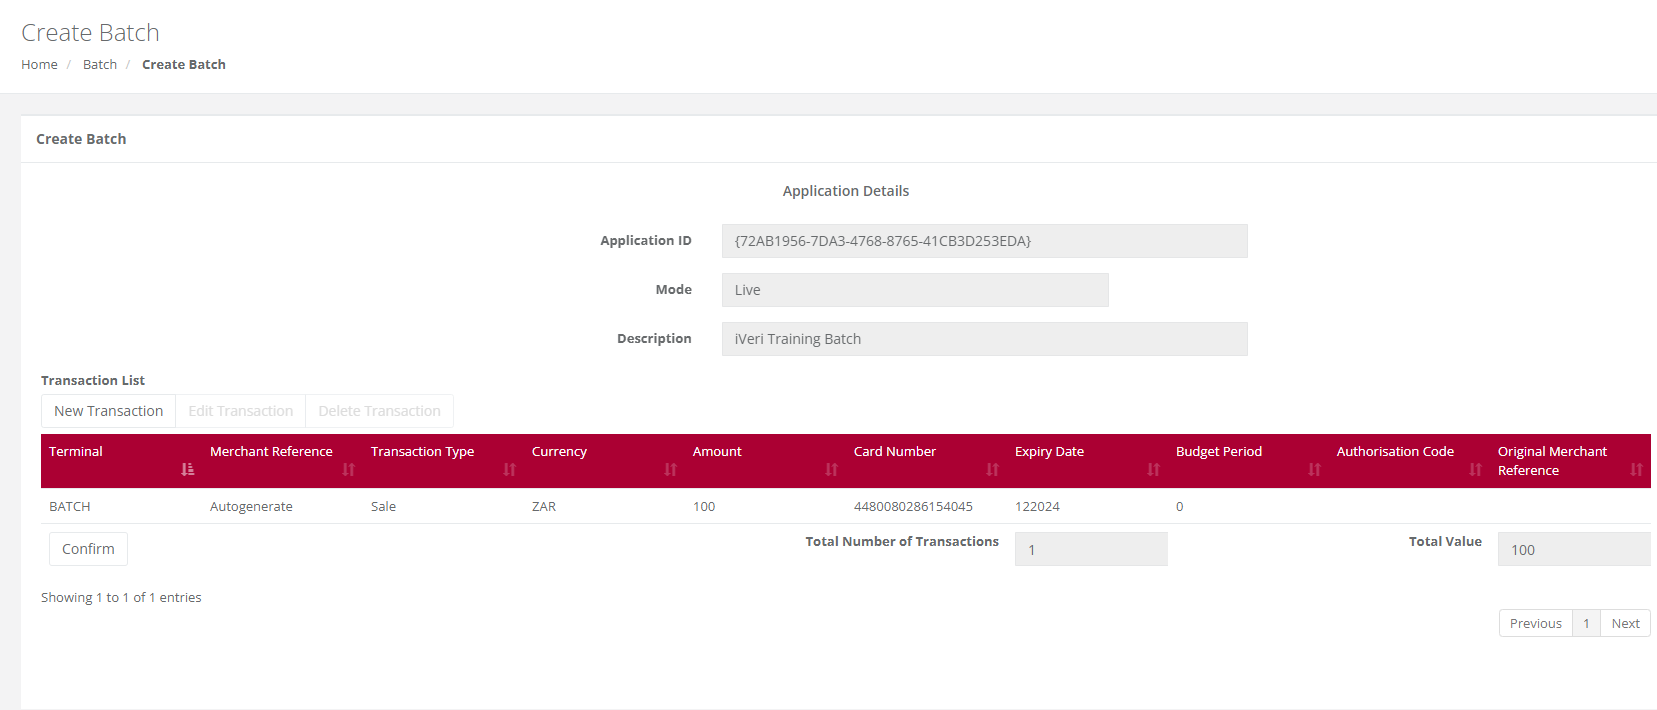
Action:
If you need to change details or delete a transaction you have already captured before uploading the batch for processing, locate the transaction as shown below. Click on the transaction to populate its details in the bottom capture section. Make your changes and click "Update" to save them, or click "Delete Transaction" to remove the transaction from the batch.
Once the user has completed adding all your entries, select "Confirm".
Note: The below screen illustrates the transaction amount has been converted from Rands to cents. The example transaction amount is for R1.00 which appears as 100 cents in the transaction list.
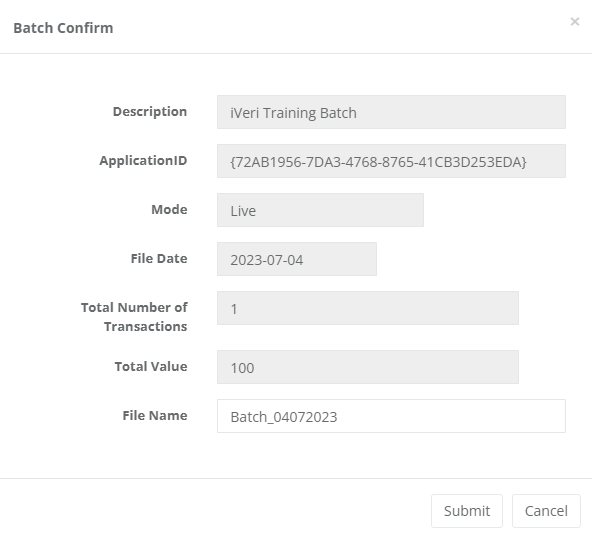
Action:
Once ‘confirm’ has been selected by the user on the above screen, the system will require the user to provide the batch a file name. Select ‘Submit’ once done.
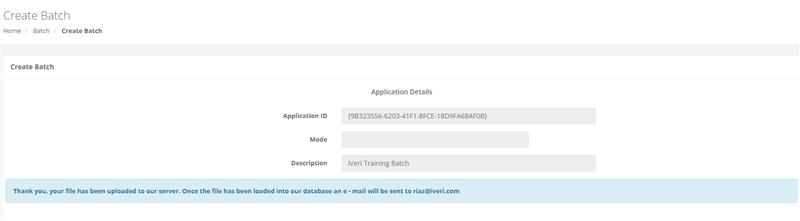
The following screen will appear to inform the user that the Batch was successfully uploaded to the iVeri Server. The user will also receive an e-mail notification

Please Note:
This creation is a one-time batch that cannot be edited or reused once it has been created and uploaded. Each time, a new batch must be created using this function.