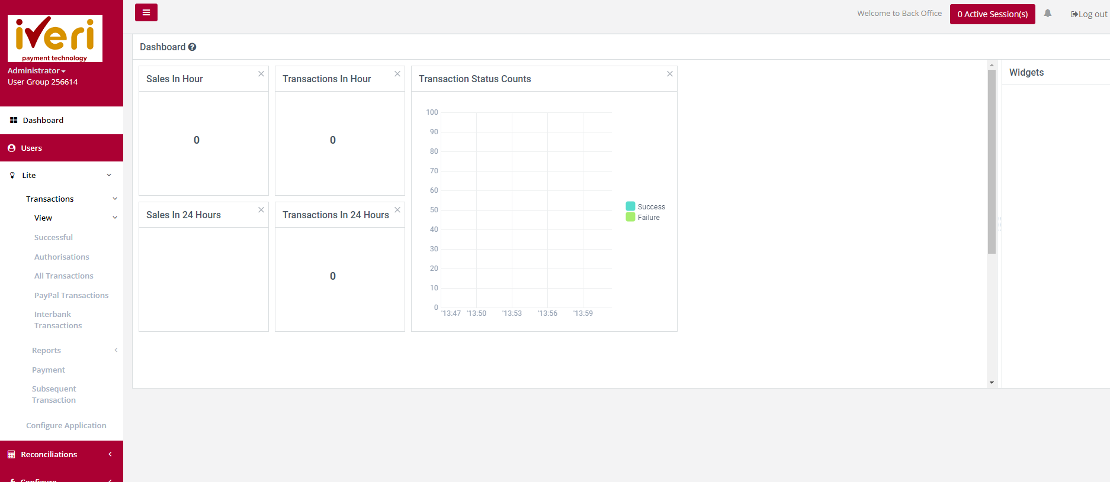
Lite
Transactions
View
Purpose - To view the list of Successful Orders for a selected Date or Period in order to check these against your confirmation emails or to view ALL details related to individual transactions.
Action:
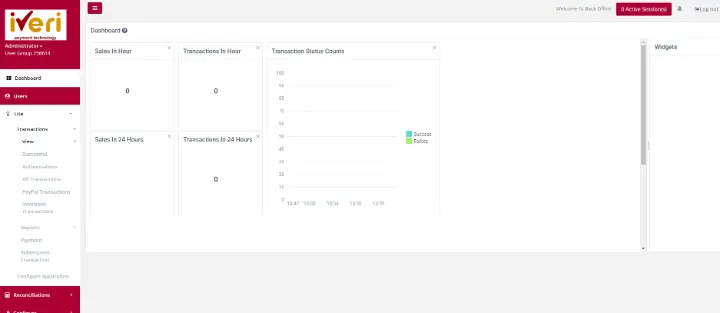
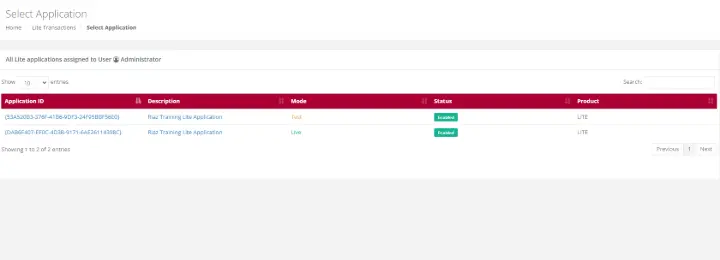
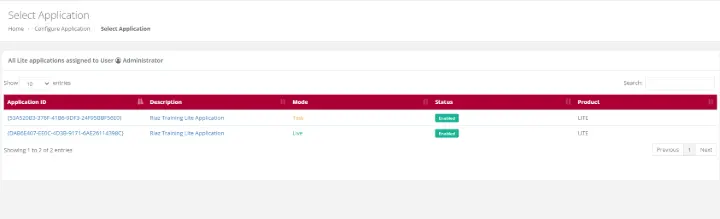
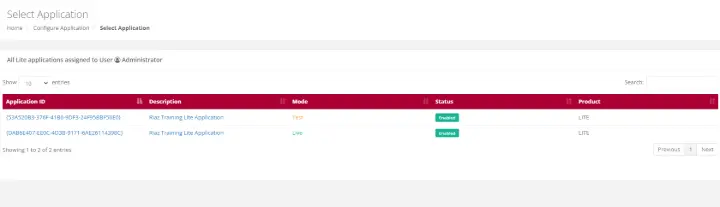
In the menu bar, Mouse over Lite Transactions - View - Successful. If you only have one Application ID, this page will NOT be displayed, and you will be automatically taken to the Choose Date/Period page.
![]()
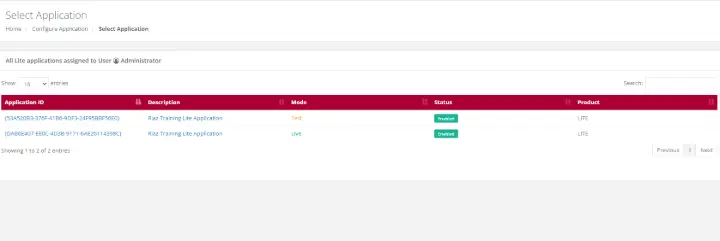
Choose a specific Application ID
![]()
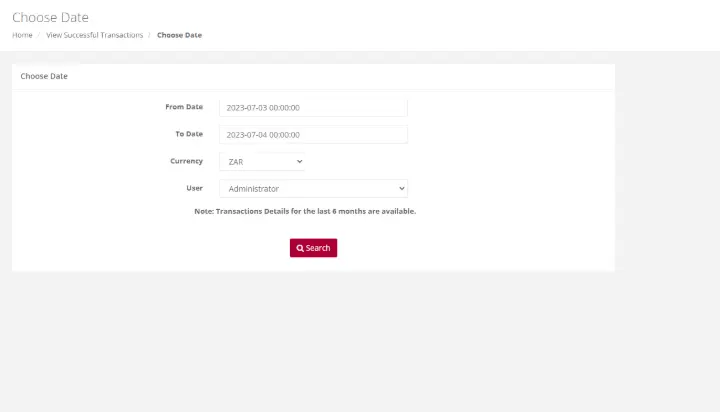
Choose a date range to start your Search
![]()
Successful
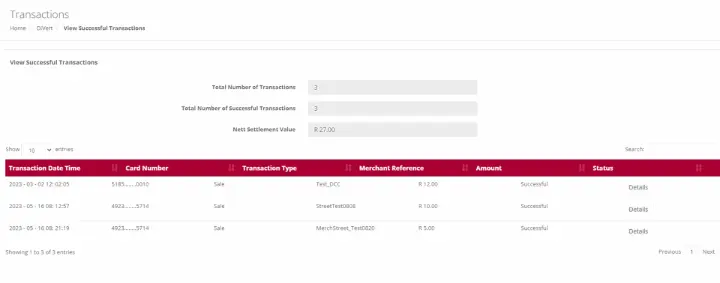
Purpose - To view the list of Successful Transactions for a selected Date or Period in order to check these against your confirmation emails or to view ALL details related to individual transactions.
Action:
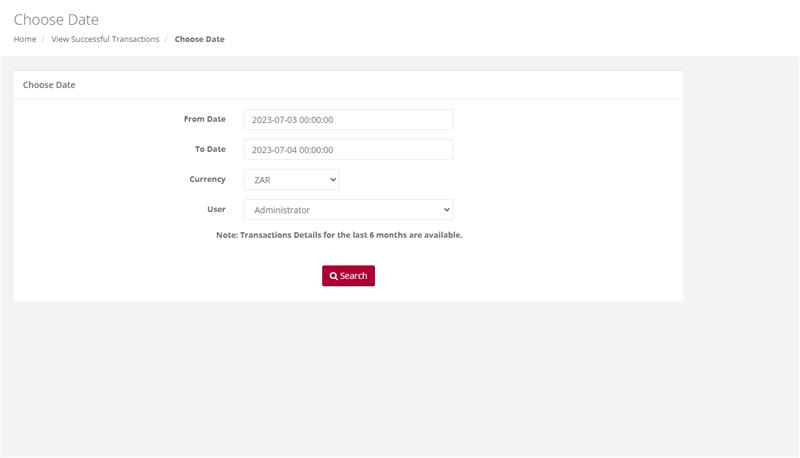
In the menu bar, Select Lite, Transactions, View, Successful. Click on the Application ID you wish to view Successful Orders for. Select the Date or Date range and click on Search. This will bring up the following pages for viewing.
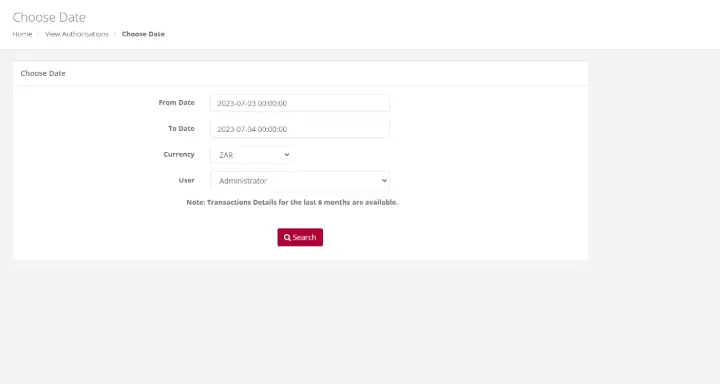
Choose a date and select Search
Action:
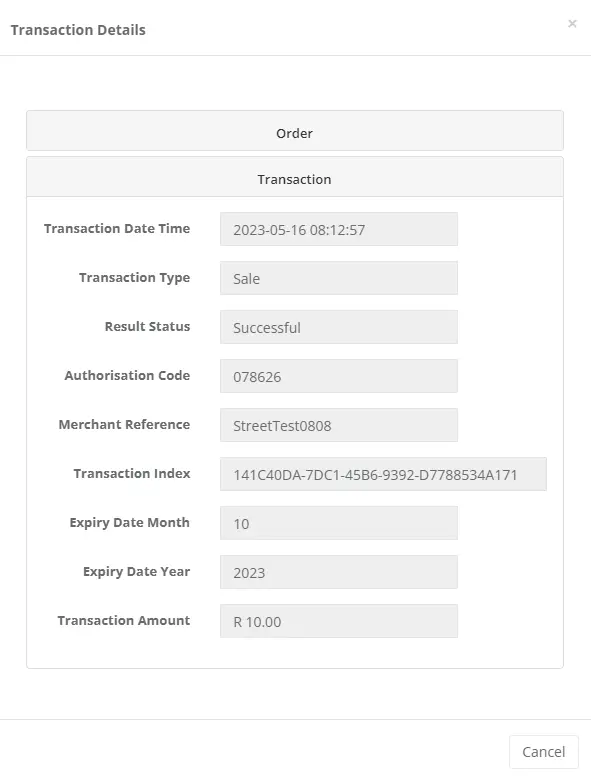
If a user wants to view the details (above) of the transaction, Details is selected to see more information pertaining the transactions.
Authorisations
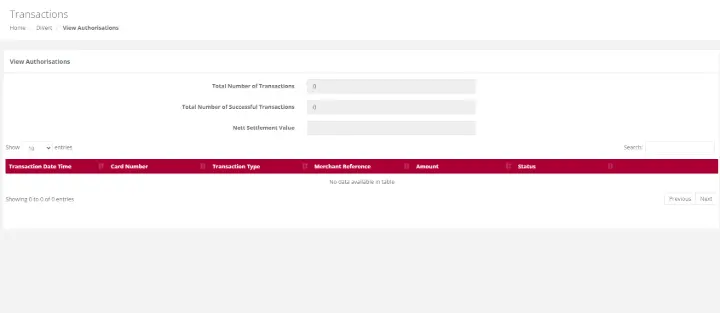
Purpose - To view the transactions for which you originally only obtained an Authorisation. This allows you to now use that Authorisation code to Debit the cardholder by doing a Subsequent Transaction to debit the cardholder and obtain the money in your bank account.
Action:
In the menu bar, Select Lite, Transactions, View Authorisation. Click on the Application ID you wish to view Authorisations. Select the Date or Date range and click on Search. A list of transactions will be displayed
![]()
![]()
Choose a date and select Search
Action:
This will give you the below screen reflecting the details of the Authorisation for either viewing of the details or you can print this page for use at a later stage.
All Transactions
Purpose - To view a list of all transactions performed for a selected Date or Period.
![]()
Action:
In the menu bar, select Lite, Transactions, View, All Transactions . Click on the Application ID you wish to view Transactions. This will bring up the list of ALL transactions performed for your selection.
Report
Lite Trading
Purpose - To print a report of processed transactions on a specific Application ID.
Action:
In the menu bar, select Lite - Transactions - Reports - Trading Report. Click on the Application ID you wish to view Transactions.

Choose a date and select Search. This will bring up the list of ALL transactions performed for your selection.
Choose the applicable file format to download the trading report on a particular Application ID

Payment
Purpose - This function allows you to pass a credit to any card without having a previous debit transaction. There is a limit to the amount that you can process a credit transaction for. Please speak to your Acquirer to obtain this limit.
Action:
On the main menu bar, Click on Lite – Transactions – Payments , select the relevant Application ID. A Capture Transaction screen will be displayed.
Once the an application ID is selected, the system will allow you to manually capture and do the transaction, however this would require all the card details to be inputted and the set limits to be adhered to.
Subsequent Transaction
Purpose - Subsequent transactions allow a user with the correct permissions to further action a transaction that has been successfully processed. For example, a user can change the transaction type from an Authorisation to a Sale or from a Sale to a Refund.
Action:
From the menu, select Lite - Transactions - Subsequent Transactions.
Action:
Click on the appropriate Application ID in which you can view transactions that have been processed. Once the transactions details are displayed you, perform refunds, or do a debit
![]()
Action:
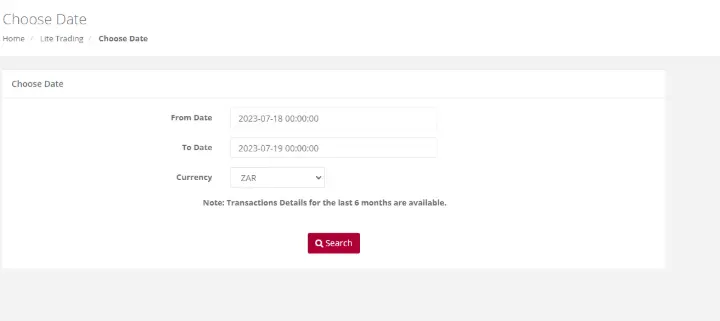
Select the Date on which the original transaction took place from the drop down menu or select a period if you are not sure of the exact date and click on Search. This will bring up a summary list of all the transactions which match your search selection.
![]()
Action:
Scroll through the summary list until you find the transaction you want to take the action on. To make sure that it is the correct transaction, click on the Details button on the right to bring up the full details of the transaction. To complete the subsequent transaction process click on the 'Do Subsequent' tab.
![]()
Action:
The subsequent transactions form pop-up will appear. As you can see the transaction automatically changes the transaction to refund. The user can click on the 'order basket' tab.
![]()
Action:
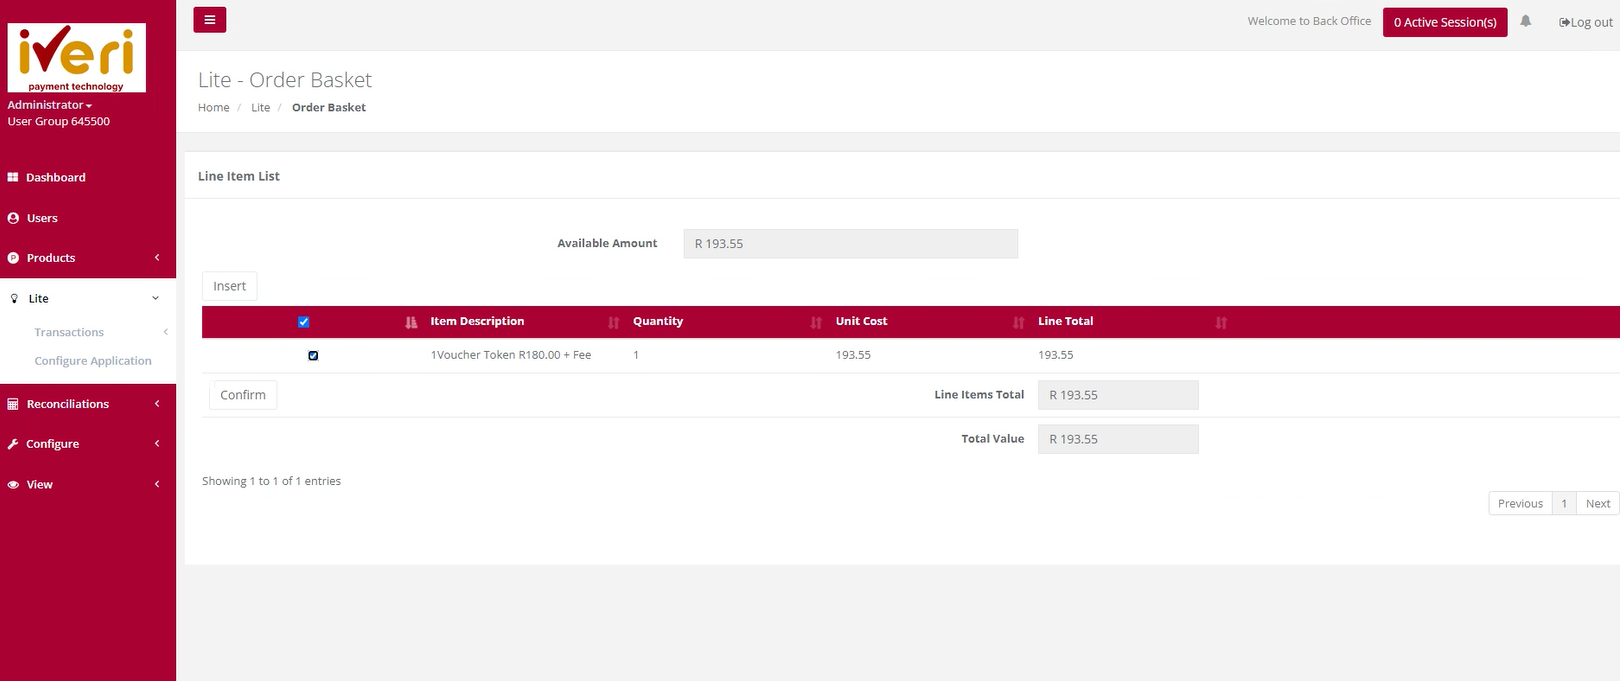
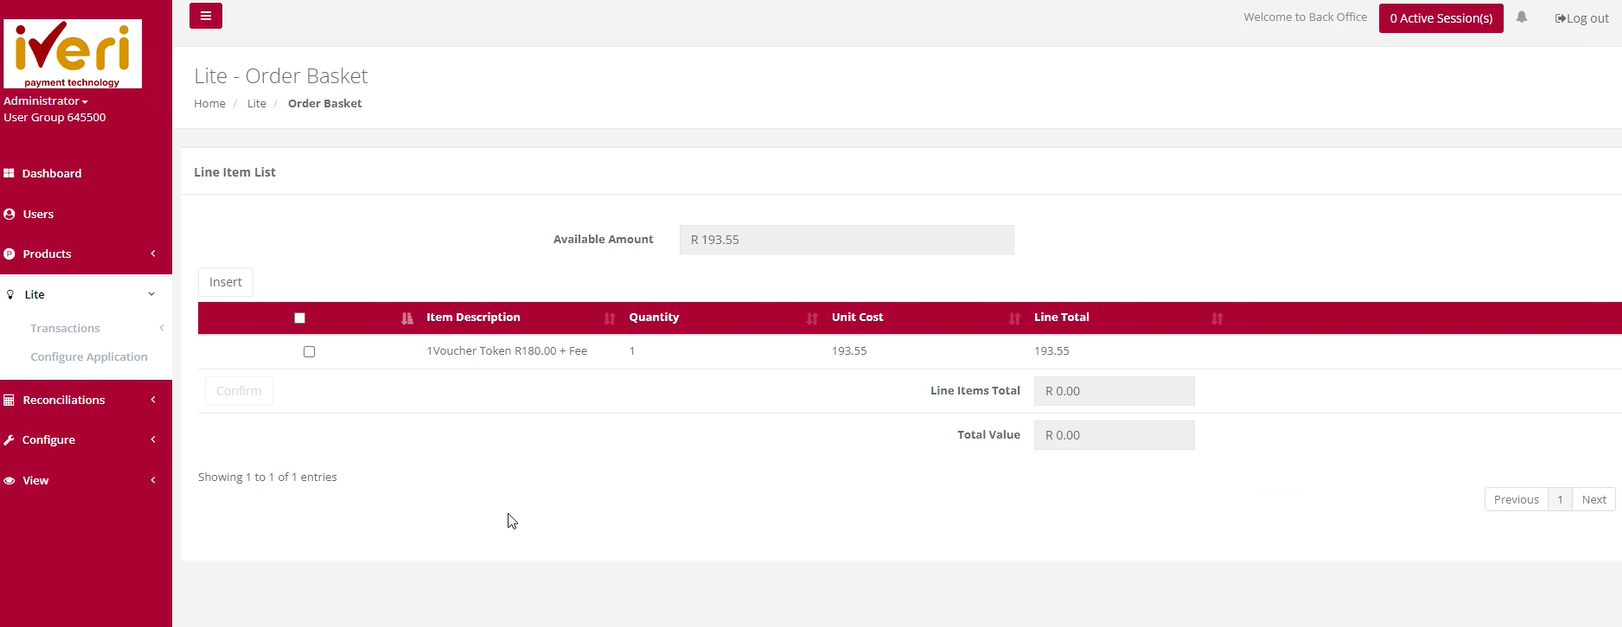
The user would now select the line item they would like to refund, by ticking the checkbox. Click on the 'Confirm' tab once the selection has been made.

Action:
The 'Transaction Details' pop window will appear. To complete the subsequent transaction, the user will click on the 'Do Transaction' tab.

The following result page will appear confirming that the subsequent transaction was successful.
![]()
Configure Application
Purpose - To receive e-mail confirmations after processing successful transactions and to set-up your transaction viewing preferences, you will now need to set up your choice of transaction configuration.
Action:
On the main menu go to Lite – Configure Application.

Action:
Click on the Application you want to configure, i.e., either the Test or the Live. Make the relevant changes and click on Submit
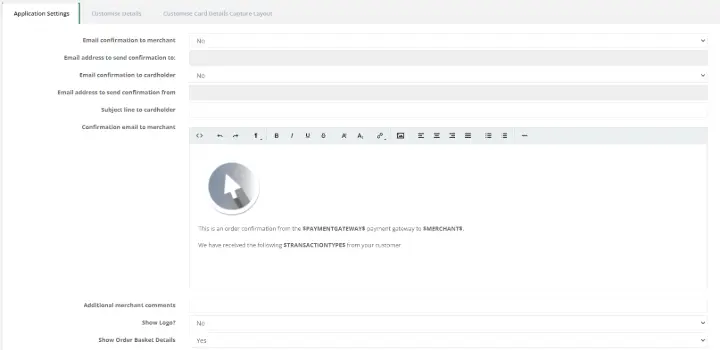
Below are some of the details a user would need to configure under Application settings:
- E-mail confirmations can be sent to a cardholder.
- Confirm the E-mail address confirmations are sent to and from.
- Customise the message on the payment page.
- Customise the message on payment request e-mail.
- Copy or Link Merchants Terms and Conditions
- Show Associated Logos
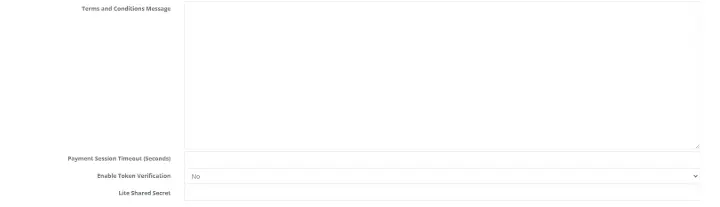
Shared Secret
Merchant Hash Token Generation is a security mechanism used in iVeri Lite (Full Redirect and Litebox integrations) to protect sensitive merchant and transaction data when a payment request is submitted to the iVeri gateway.
Configure the following parameters:
- Enable Token Verification to “Yes” (By default this parameter is set to “No”)
- Populate the Lite Shared Secret key parameter. Maximum length 32 characters (alpha-numeric)
This significantly reduces the risk of data tampering or interception between the merchant’s system and the iVeri gateway.
Merchants must generate the token on their web server and pass the generated token to the transaction request.
Lite Fund Me
The Lite Fund Me feature allows merchants to share a fixed payment link with customers and configure how payment results are handled.
You can access these settings in BackOffice > Lite > Configure Application.
Below is a breakdown of the available fields and what they mean:
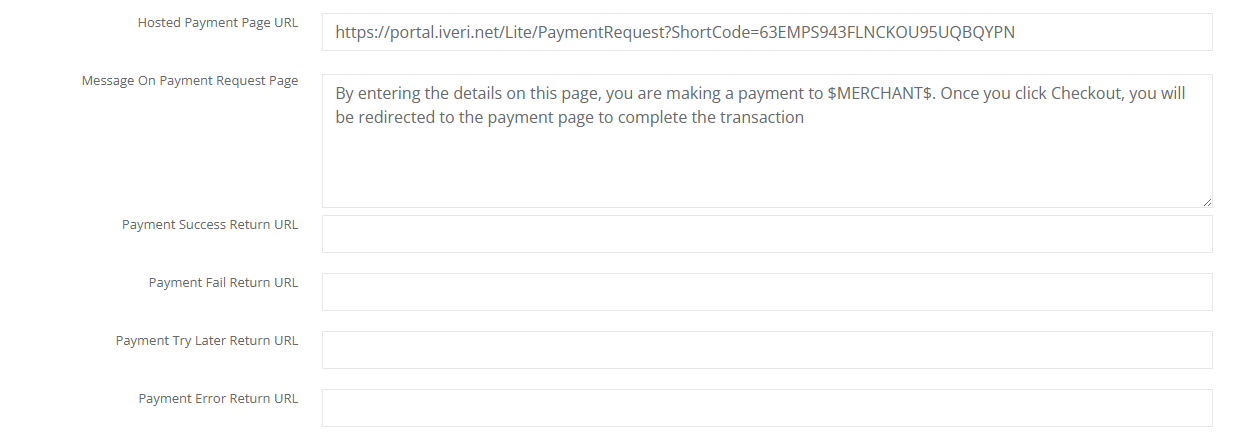
1. Hosted Payment Page URL
This is your fixed payment link.
- You can share this link directly with customers to request payment.
- The URL is automatically generated by the system.
- This value cannot be edited or changed.
2. Message on Payment Request Page
This is the message displayed at the top of the hosted payment page, just below your logo.
- You can customise this message.
- It can be used to provide payment instructions or a short note to customers.
- This field can be edited at any time.
3. Return URLs (Required)
You are required to configure the following four return URLs:
- Success URL
- Fail URL
- Try Later URL
- Error URL
These must be merchant-hosted URLs.
After a customer attempts payment, the system will:
- Redirect the customer to the appropriate URL based on the payment outcome.
- Post the payment result back to your system for record-keeping or any additional actions you may require (e.g., updating order status, sending confirmation emails, etc.).
⚠️ Important:
All four return URLs must be configured correctly. The fixed payment page will not open unless these URLs are completed.

To make the relevant changes, click on Save Changes.
NOTE:
The Administrator can configure specific user email addresses to receive confirmation emails when payments are made by cardholders. Here’s how:
Send Email Confirmation to the User Who Created the Request: Enable this option to allow the user created by the Administrator to receive transaction confirmation emails.
Send Email Confirmation to a Different Address: Alternatively, enter a different email address in the provided text field to receive transaction confirmation emails.
Send Email Confirmation to the Cardholder: Enter the email address where the cardholder's transaction confirmation emails should be sent.
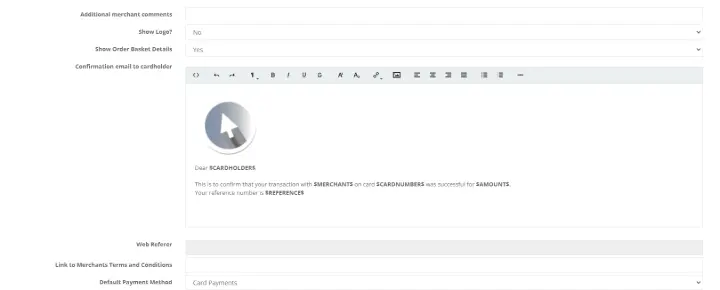
Customizing Payment Request Messages
Customize the payment request message sent to the cardholder. Ensure not to alter the content between the $ signs.
Preferred Payment Method Selection
Merchants with multiple payment methods can select a default option from the list, such as Visa Checkout, MasterPass, or Card Payments.
Registering for Visa Checkout
To start accepting e-wallet payments via Visa Checkout, follow these steps:
- Navigate to the “Transaction Viewing Layout” section.
- Click on the “Reset Transaction Viewing Layout” dropdown.
- Select “Visa Checkout Management.”
- Click the “Submit” button.
- A new page will display, where you can fill in the required fields and submit the form.
Important Note:
Merchants must notify their Acquiring Bank to enable Visa Checkout. This step is crucial for the activation process.
Linking Terms and Conditions:
The merchant can now be able to configure terms and conditions to be set and agreed by the cardholder upon making a payment. This is done by inserting a URL link where the merchants’ terms and conditions are found or type out the Terms and conditions.
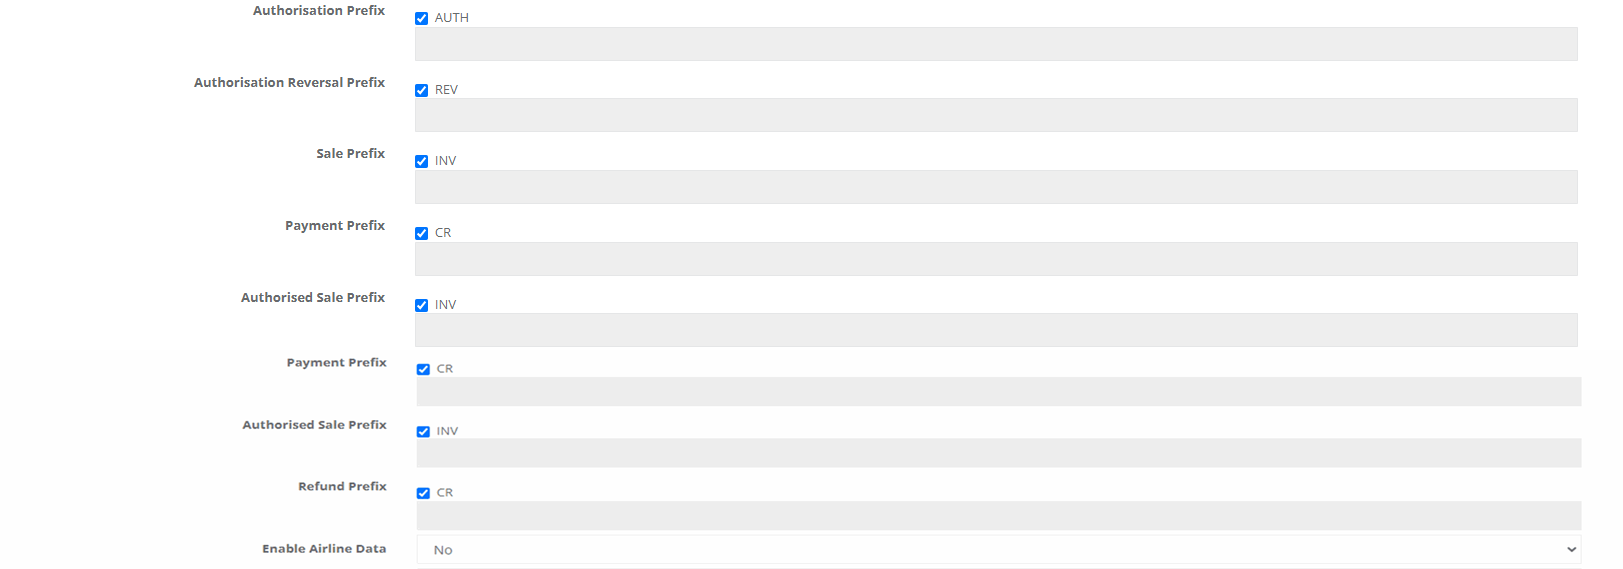
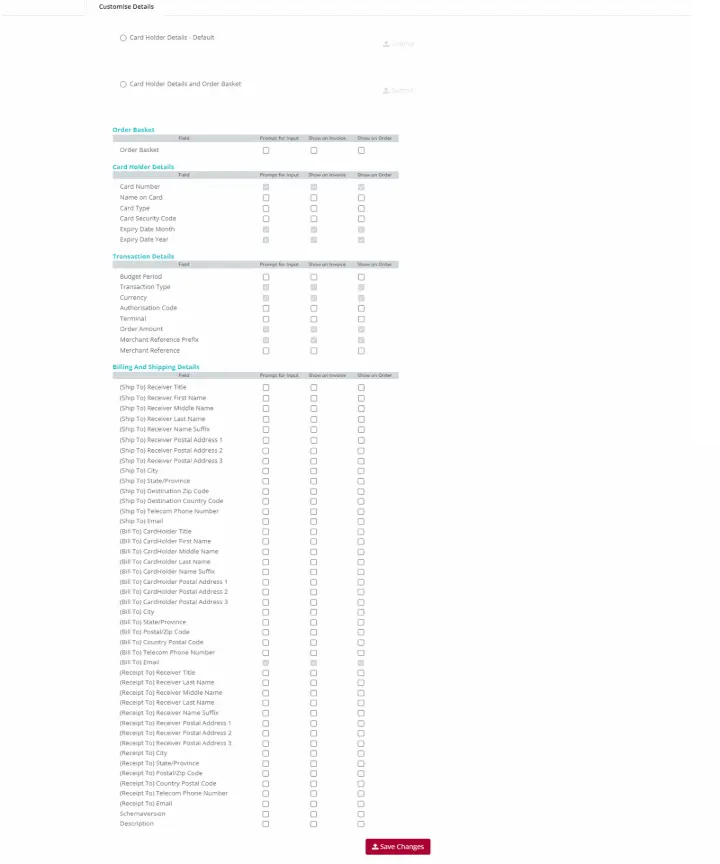
Customise Details
Purpose:
Configuring your application is important. Configuring your application needs to take place before a user can process transactions. Lite users need to configure and customise the details pertaining to:
- Order Basket
- Card Holder details
- Transaction Details
- Billing and shipping details
Note:The fields that are ticked and greyed out are mandatory fields that cannot be configured.
The merchant can configure the fields that they feel are applicable and determine whether the fields require a prompt for input for the cardholder, appear on the invoice and/or show on the order details.
How you want the basket details to look like on the payment page.

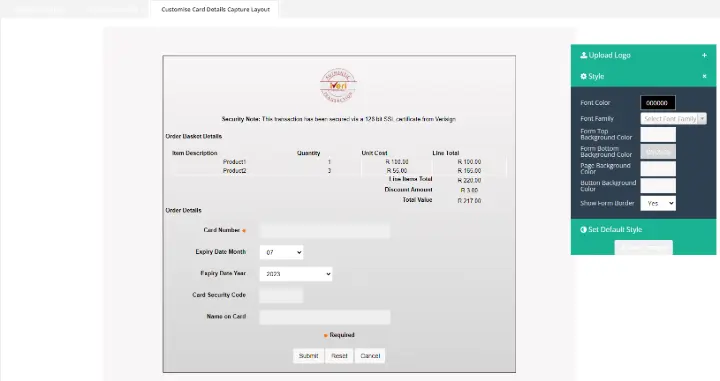
Customise Card Details Capture Layout
Purpose:
From the ‘Customise Card details capture Layout page, the Administrator can customise the look and feel of the payment page.
This is a preview of the defaulted payment page that cardholders will see.
Action:
From the main menu the user will navigate to: Lite - Configure Application.
Action:
Select the applicable application ID.
Action:
The user will select the 'Customise Card Details Capture Layout' tab.
Action:
The user can upload the company logo to align with their company’s Corporate Identity. JPEG and PNG are the accepted file extensions.This can be done by clicking on the "Upload Logo" expansion button. The user will be able to access the assets from their PC and upload the file extension.
Under 'Style', the user will be able to customize the following:
- Font colour
- Font type
- Form top background colour
- Form bottom background colour
- Page background colour
- Button background colour
- Choose to have a border around the payment section
- Choose whether to display company logo on the payment page.
To customise the above, the user will do the following:
Action:
Expand on the "Style" tab.

Action:
Select which field to customise. In this example, we will customise the Background by click in the box provided. This will populate the colour spectrum.
The user can also utilise the RGB model and Hex code available to customise the colours according to their corporate identity.

Action:
Once the user has customised the colour, they would need to click on the colour wheel, to maintain the changes they have made. Should the user not do so, the style will return to it's default setting.

Lastly, to save the changes that have been made, click on the "Save Changes" tab.

Please note:
If the user would like to reset to default settings, select the 'Ser Default Style'.