Batch
Simplify high-volume payment processing with iVeri Batch. Follow our step-by-step resources to prepare, submit and manage multiple payment transactions securely and efficiently.
Getting started with Batch
Batch is for bulk, card-not-present payments — collecting many transactions at once rather than processing them in real time. Three steps before your first file goes through.
Do this before anything else — a user can't create a batch until the application it belongs to has been configured with a notification email.
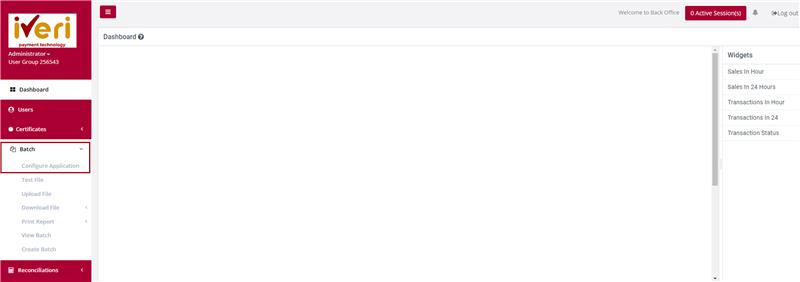
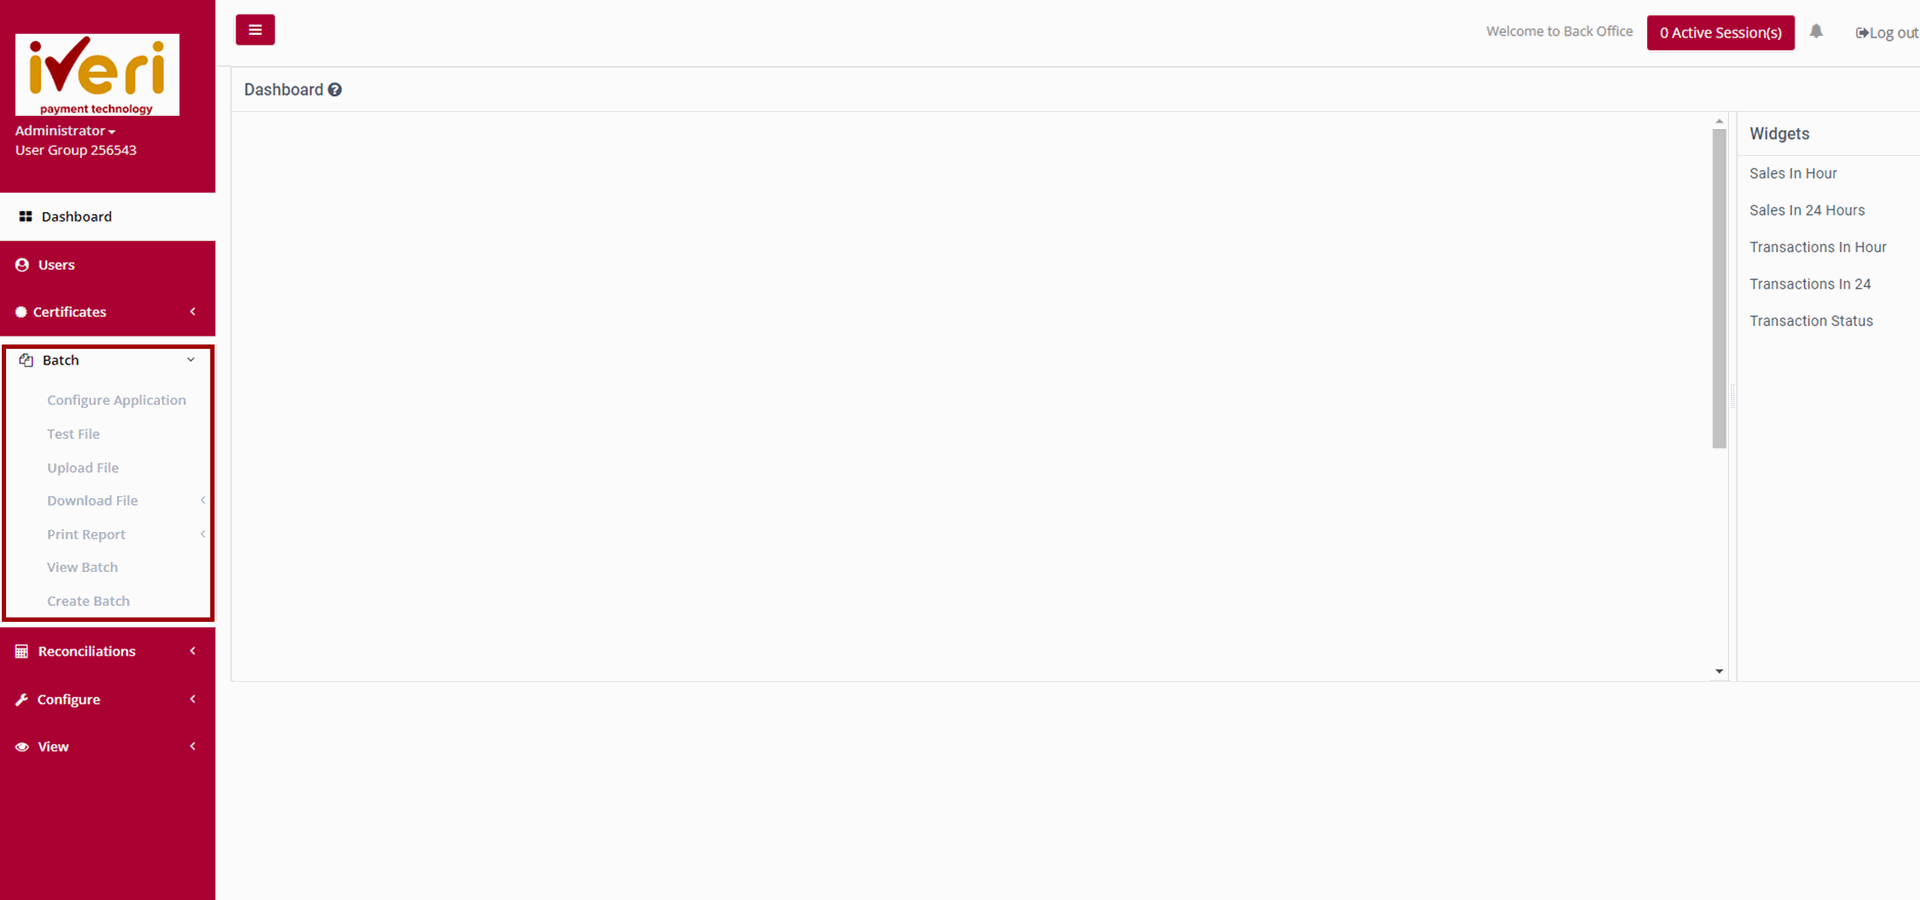
Batch → Configure – Application
1. From the main menu, open Batch → Configure – Application.
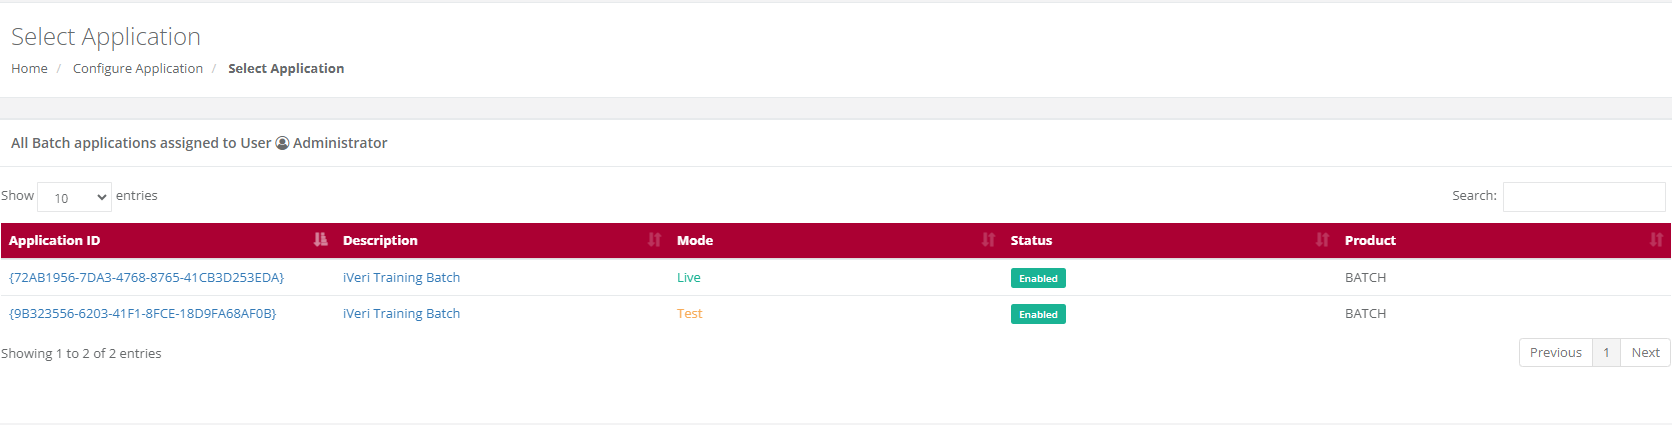
2. Select the Application ID you want to configure.
3. On the application settings form, capture the email address that should receive the upload confirmation — success or error — every time a batch is uploaded.
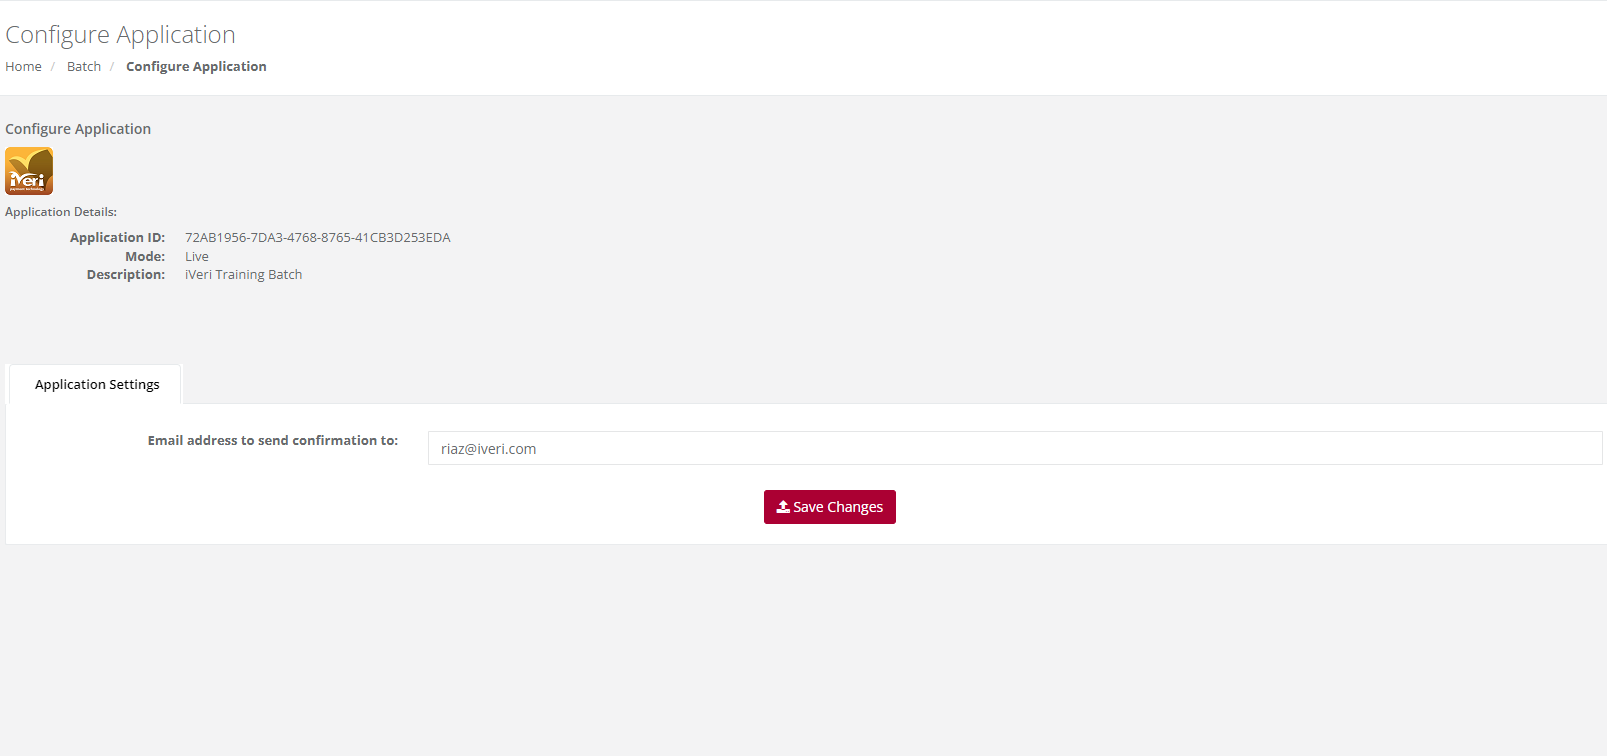
4. Save your changes. A confirmation message, "Application Fields Modified", will display once it's done.
Why first: without this, no one gets notified whether an uploaded batch succeeded or failed — and a batch can't be created for the Application ID until it's configured.
Note: This step applies only if you are using the Batch Upload functionality. If you are creating a batch directly in the Merchant Back Office, please proceed to the next step.
Before uploading a real batch, run it through the Test File tool to check it matches the iVeri Batch Specification — this catches formatting errors before they count.
Batch → Test File
1. From the main menu, open Batch → Test File.
2. Click Browse to locate your batch file, or drag and drop it into the space provided.
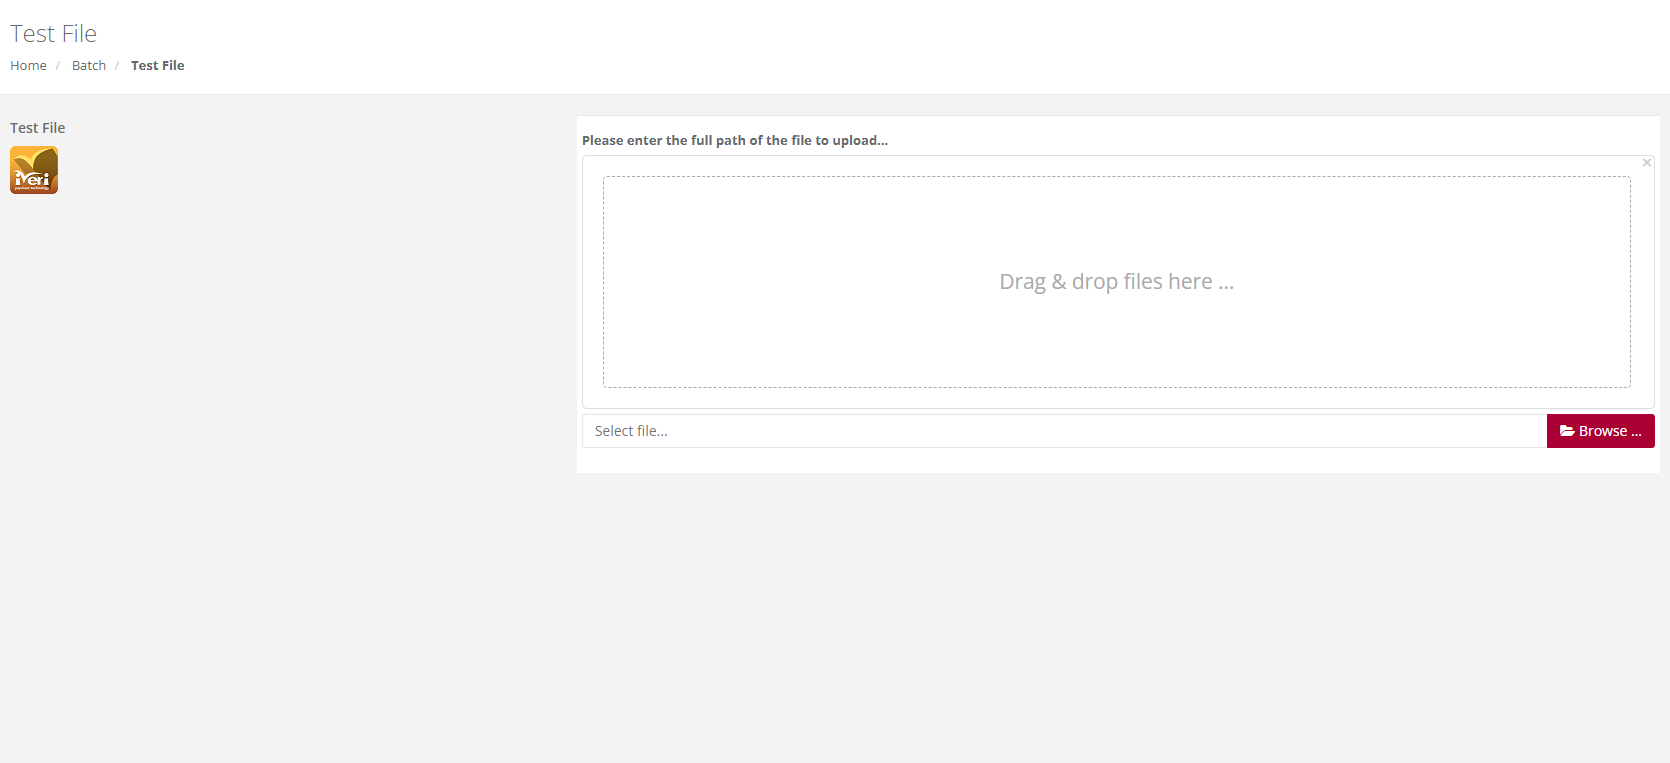
3. Click Submit to run the format test.
4. Review the results — any errors found in the file will be listed on screen.
Optional but worth it: this step doesn't submit anything for processing — it only validates the format, so there's no downside to running it before every real upload.
Two ways to get transactions into the system — build the batch directly in the backoffice, or upload a file you've already prepared.
Batch → Create Batch or Batch → Upload File
Option A — Create Batch
Build your transactions directly in the backoffice
1.Open Batch → Create Batch and select the Application ID.
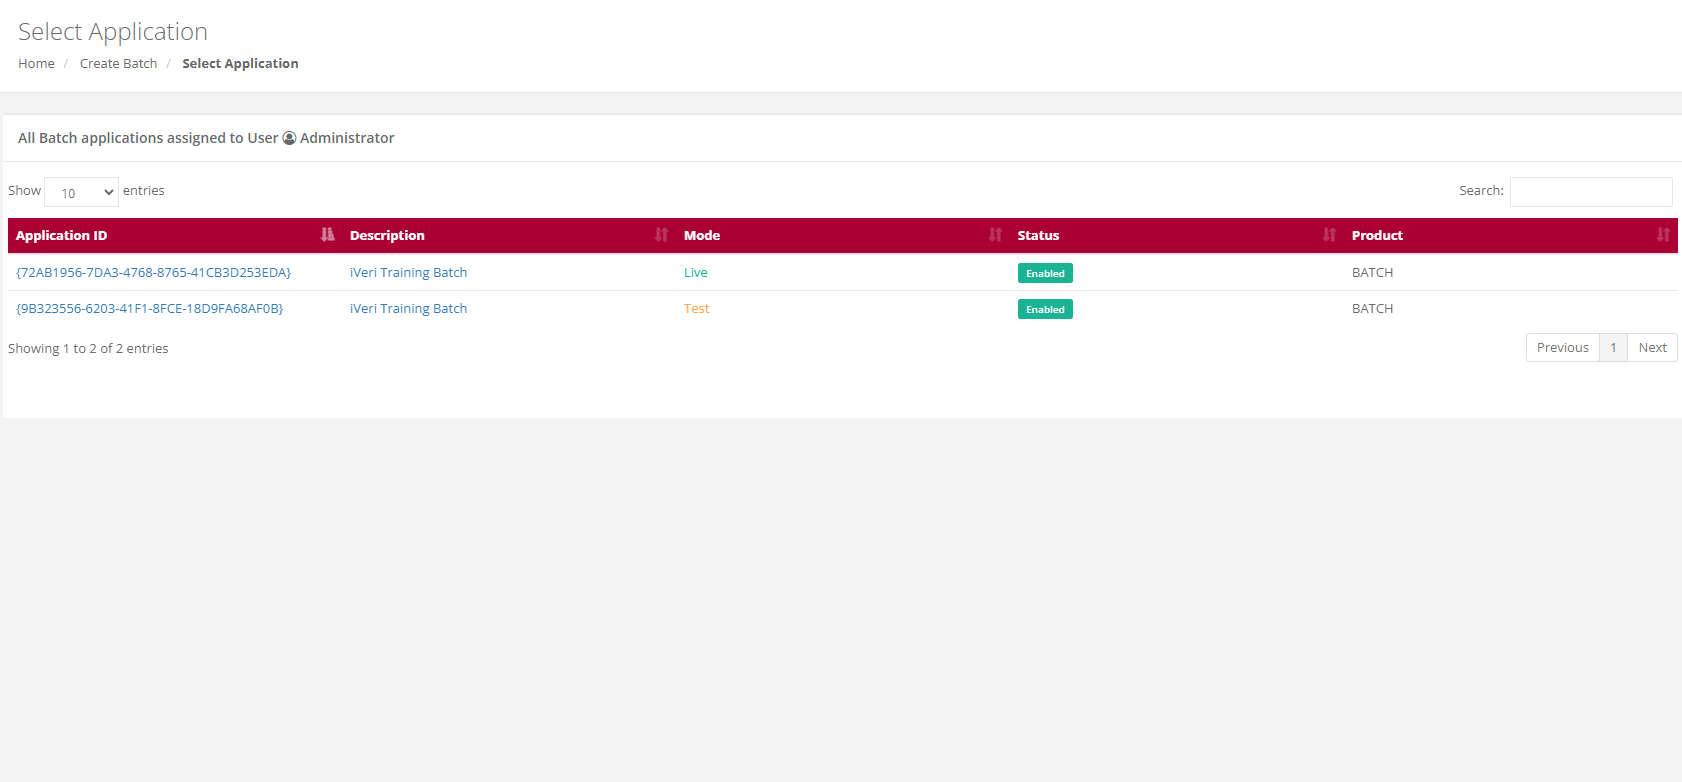
2. Click New Transaction and capture the details — amount is entered in Rands and converted to cents automatically; leave Merchant Reference on AUTOGENERATE unless you need your own (a manual reference can't be reused within 6 months).
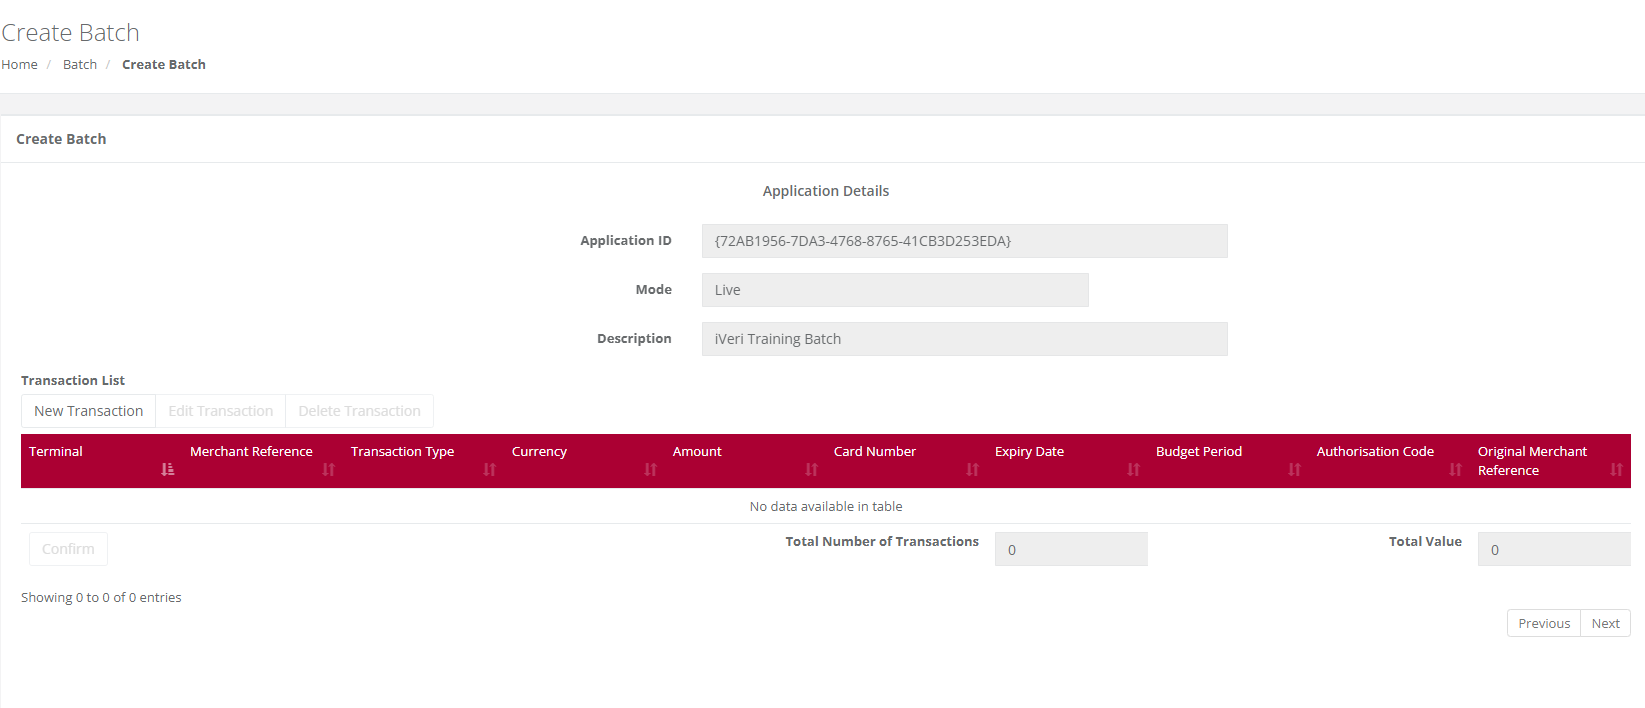
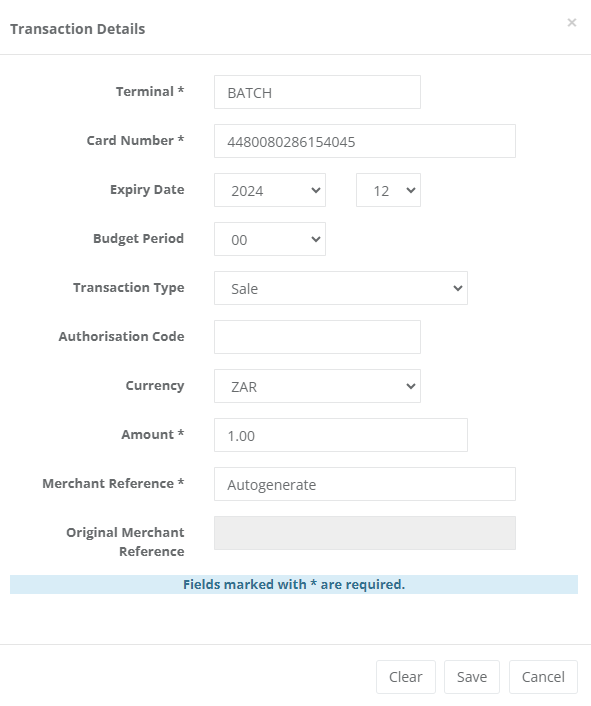
3. Click Save after each transaction, and repeat until every entry is captured.
4. Click Confirm, give the batch a file name, then Submit.
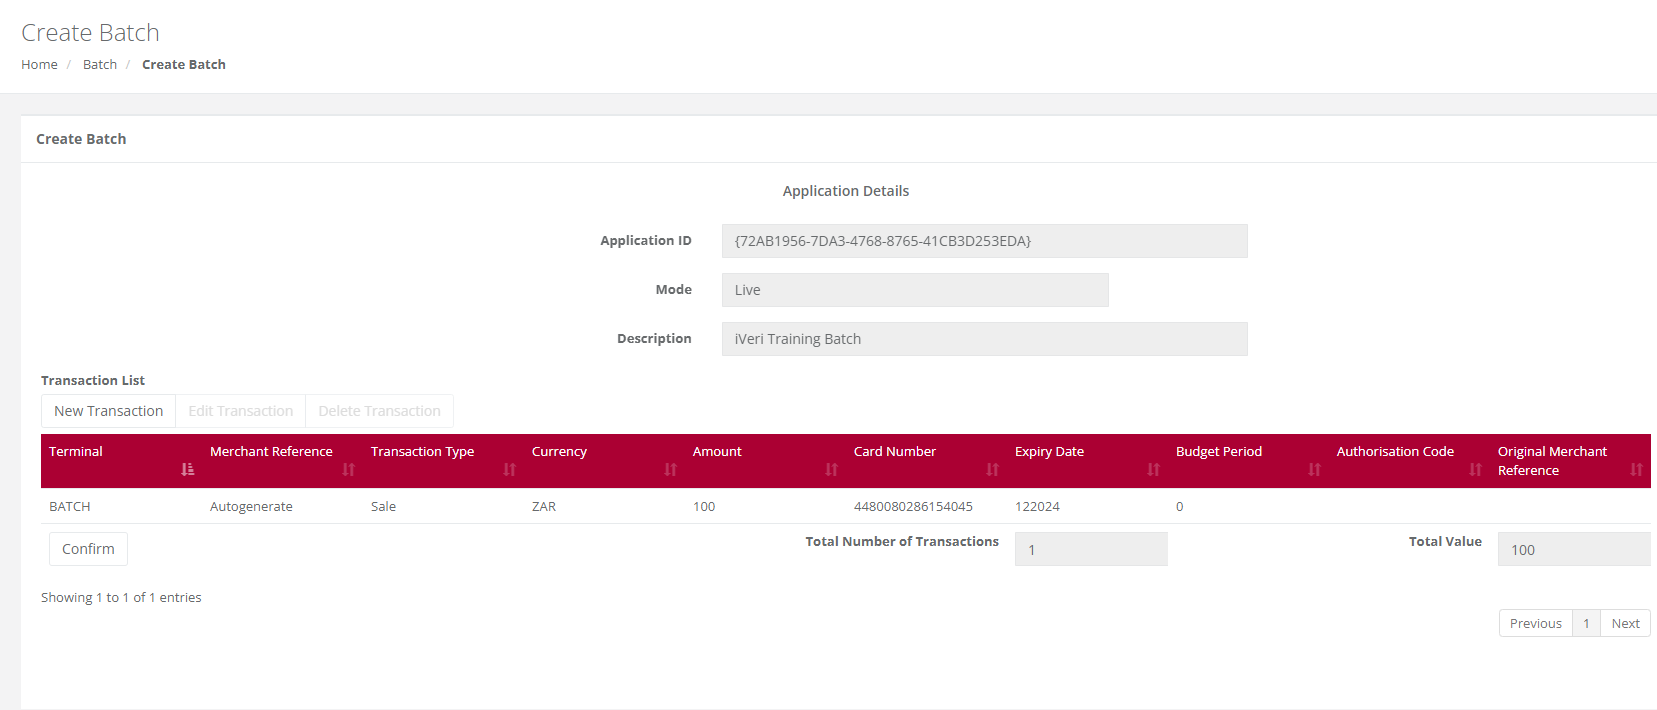
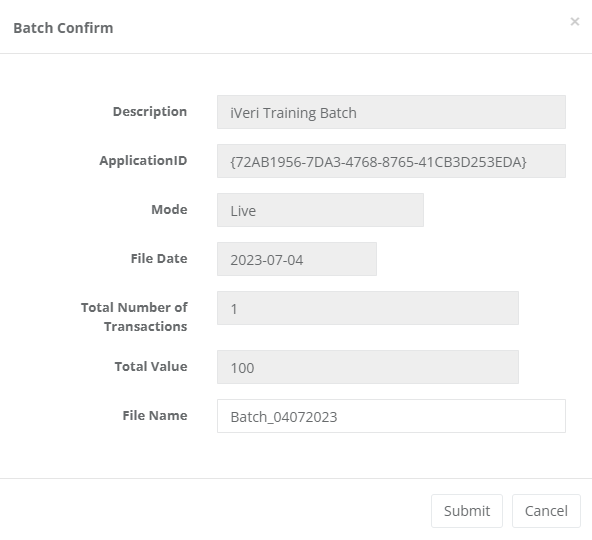
A created batch is one-time only — it can't be edited or reused once uploaded. A new batch must be created for each new set of transactions.
Option B — Upload File
Already have a batch file ready to go
1. Open Batch → Upload File.
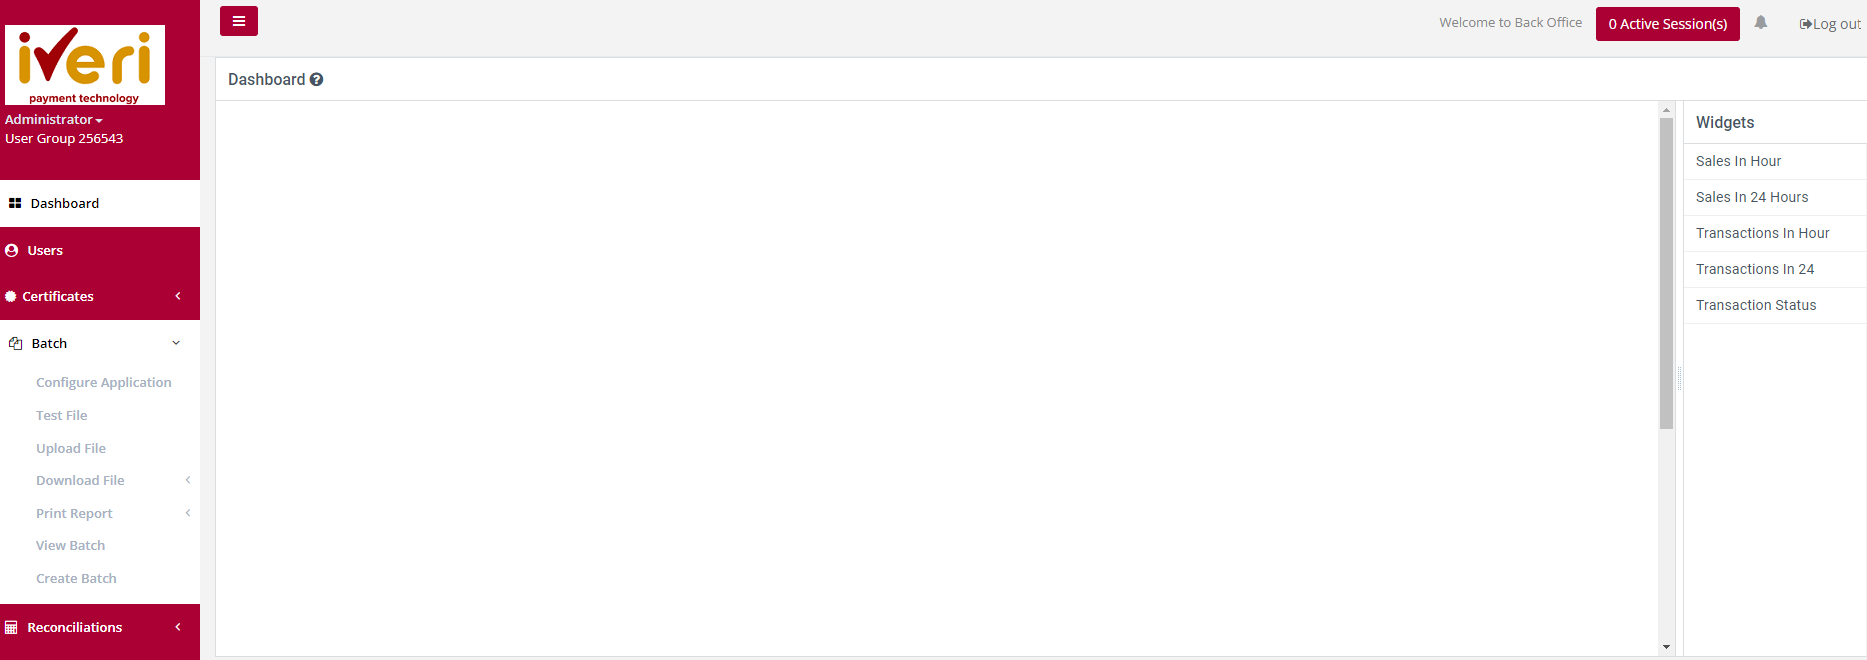
2. Click Browse to locate your file, then Submit.
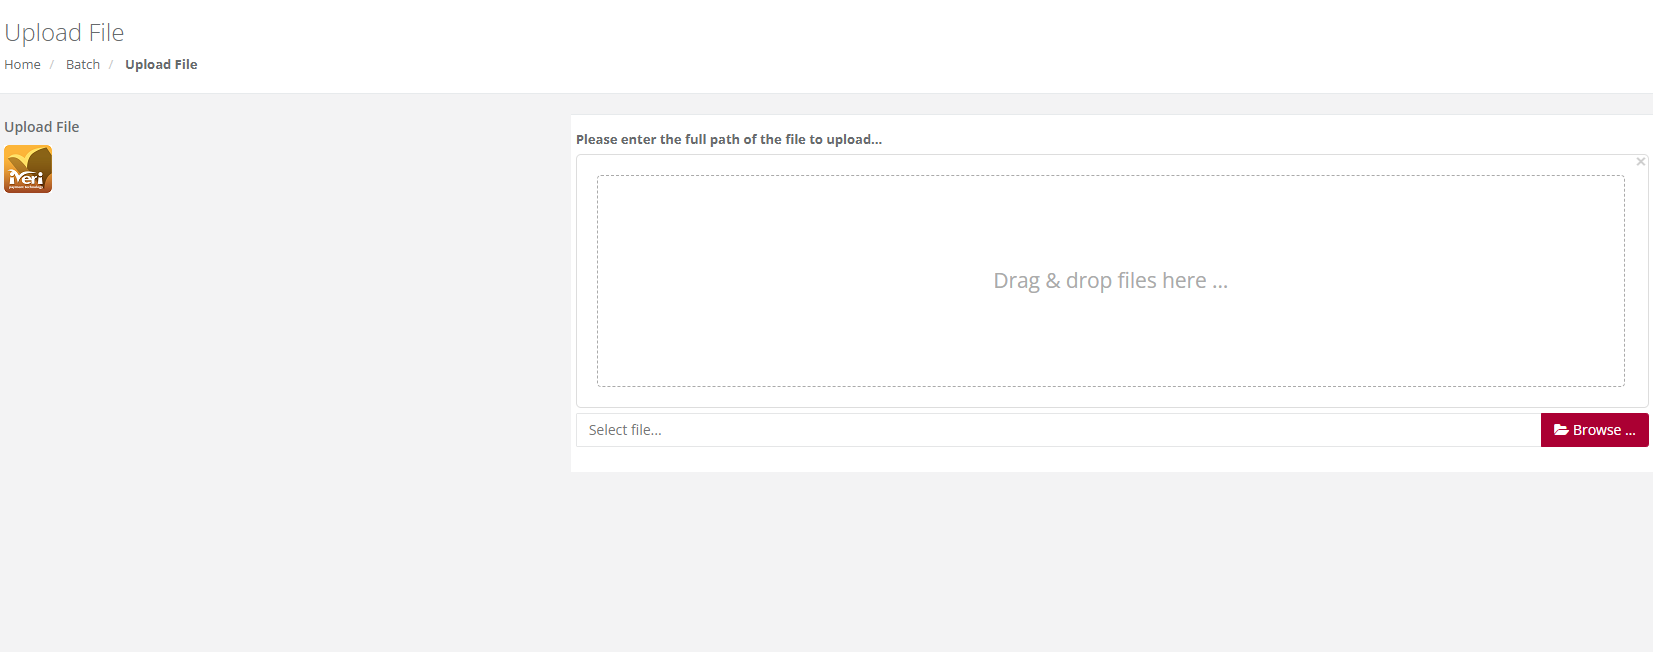
3. Watch for the on-screen confirmation that the file reached the server.
4. Check the email address you set up in Step 1 shortly after — that's where the success or failure confirmation is sent.
After either option: track progress under Batch → View Batch, and check Reconciliation once the settlement cycle runs.